Contents
0%Hey!
The blue stage explainer ads are everywhere right now, and they work. Here is a finished one, then every step behind it.
Watch the ad
That is a 73 second ad for a digital keto product aimed at Thermomix owners. Every frame is generated, one character carries all 20 shots, and the whole thing was built in a single chat. I also published that chat, so everything below is the real build, not a reconstruction.
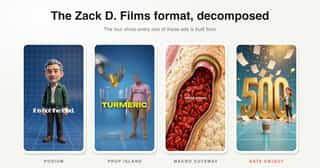
It is a format, not a style
Zack D. Films is not a look you apply with one prompt. It is a format, a bundle of locked decisions that travel together: the voice, the pacing, the stage, the music, the transitions, and the character style, all carried by the skill. I broke each one down with the real numbers in the format post; this post is the build. The rendering on top is swappable, Pixar-style 3D is the usual choice, but the same workflow runs in claymation or papercraft.
The transitions are where imitations die. An original plays as one continuous camera journey where every scene change is a designed transition. Imitations cut every few seconds, and that cut rate is exactly what makes them read as imitations.
Generate the ENTIRE voiceover before you touch a single visual, then have your AI analyze the audio. Voiceover pacing is never linear, some lines rush and some drag. If your AI assumes it is linear, every clip length it plans will be wrong, and you will spend your evening retiming clips in your editor.
Step 1: Research the customer, then write the script
The style earns the attention. The script does the selling, so it starts with real customer research, not with prompts.

The chat's Reddit research output: the KetoPrzewodnik ICP summary with core pain points and emotional drivers
I gave the chat my product and had it dig through Reddit first. It came back with who buys this, what they complain about, and the exact phrases they use. Two of those findings went straight into the finished ad: "for the price of your weekly coffee" and "one click import into Cookidoo" are both customer language, not copywriting.
The other thing that helps enormously: give it a reference ad that already performs as structural inspiration. The script comes back far sharper than from a blank start.
Step 2: Generate the voiceover in the format's voice
The narration is a format pillar, so it is locked before any visual exists. One continuous take, narrator voiceover, never on-camera speech.
Then the chat analyzes the audio and gets the real timing of every line. That timing is what the entire storyboard hangs off. My take came out at 86.6 seconds, and every shot you see below carries a start and end taken from that audio, not from guesswork.
The build order, the five stage plates, the narrator voice IDs and the music track are packaged as one SKILL.md. Download it here, free and no account needed.
Step 3: Pick one stage and attach it everywhere
This is the highest leverage trick in the whole format, and it is not a prompt.

The empty light grid stage plate: a flat cyan world with a thin white perspective grid
That is a stage plate. An empty background image, generated once, then attached as a reference to every single frame in the ad. You never describe the background in words again, because described backgrounds drift: the blue shifts shade between shots, the grid changes density, the horizon moves. Background drift is the tell of a fake, and attaching the plate closes it.
The skill ships five plates: light grid, light clean, dark grid, dark clean, and a neutral studio. I picked the light grid because this ad is explanatory and the register should feel approachable.
Step 4: Lock the character once
Same principle, applied to the person. Generate the character once, standing on the attached plate so the lighting matches, then attach that same image to every frame she appears in.

The locked character: a Pixar-style woman in her early 30s, honey-brown ponytail, sage green cardigan, on the cyan grid
She is built from the research: early 30s, busy mom energy, slight tiredness under the eyes, flyaways in the ponytail. The imperfections are the point. They are why she reads as the customer instead of a stock 3D model.
Never feed a generated output back in as the new reference. Drift compounds fast, and after five generations of that the face is somebody else.
Step 5: Storyboard against the real audio
With the timing analyzed and the references locked, the storyboard is where the actual work happens. Iteration is cheap here and expensive at the video stage. I break down script storyboarding on its own, with the real storyboards behind two ads.

The storyboard in the chat: every shot with its VO line, timed duration, visual, and transition out
Every shot gets four decisions: the VO line it serves, one visual, one action, and the transition that carries it into the next shot. Twenty shots, every one with a real timestamp from the voiceover analysis.
The format's signature move is visible all through that table: every claim becomes a physical object. "Not willpower" is a red X shattering a flexed arm. "Quit after 2 weeks" is a giant extruded red numeral with calendars flying off it. "500 recipes" is a gold monolith towering over a coffee cup. Flat text on screen would collapse the whole thing into a generic explainer.
Step 6: Three options for the hook, always
The hook carries the video, and the first idea is rarely the best one.

The chat proposing three visual hook concepts, each with what it shows and why it works
The skill proposes three distinct concepts with a reason for each. I generated the two I liked and picked from real images. The winner: "overwhelmed by chaos", recipe cards and a clock and a calculator spiralling over her head.
One rule worth stealing: keep the product out of the hook. A product-led opening reads as an ad immediately and loses the scroll. Sell the situation, save the product for the reveal.
Step 7: Generate the scene frames
Composition gets decided at the image stage, never left to the video model. One still per shot, with the plate, the character sheet, and the product photo attached to each one.
The light grid stage plate, attached as the world referenceThe locked character sheet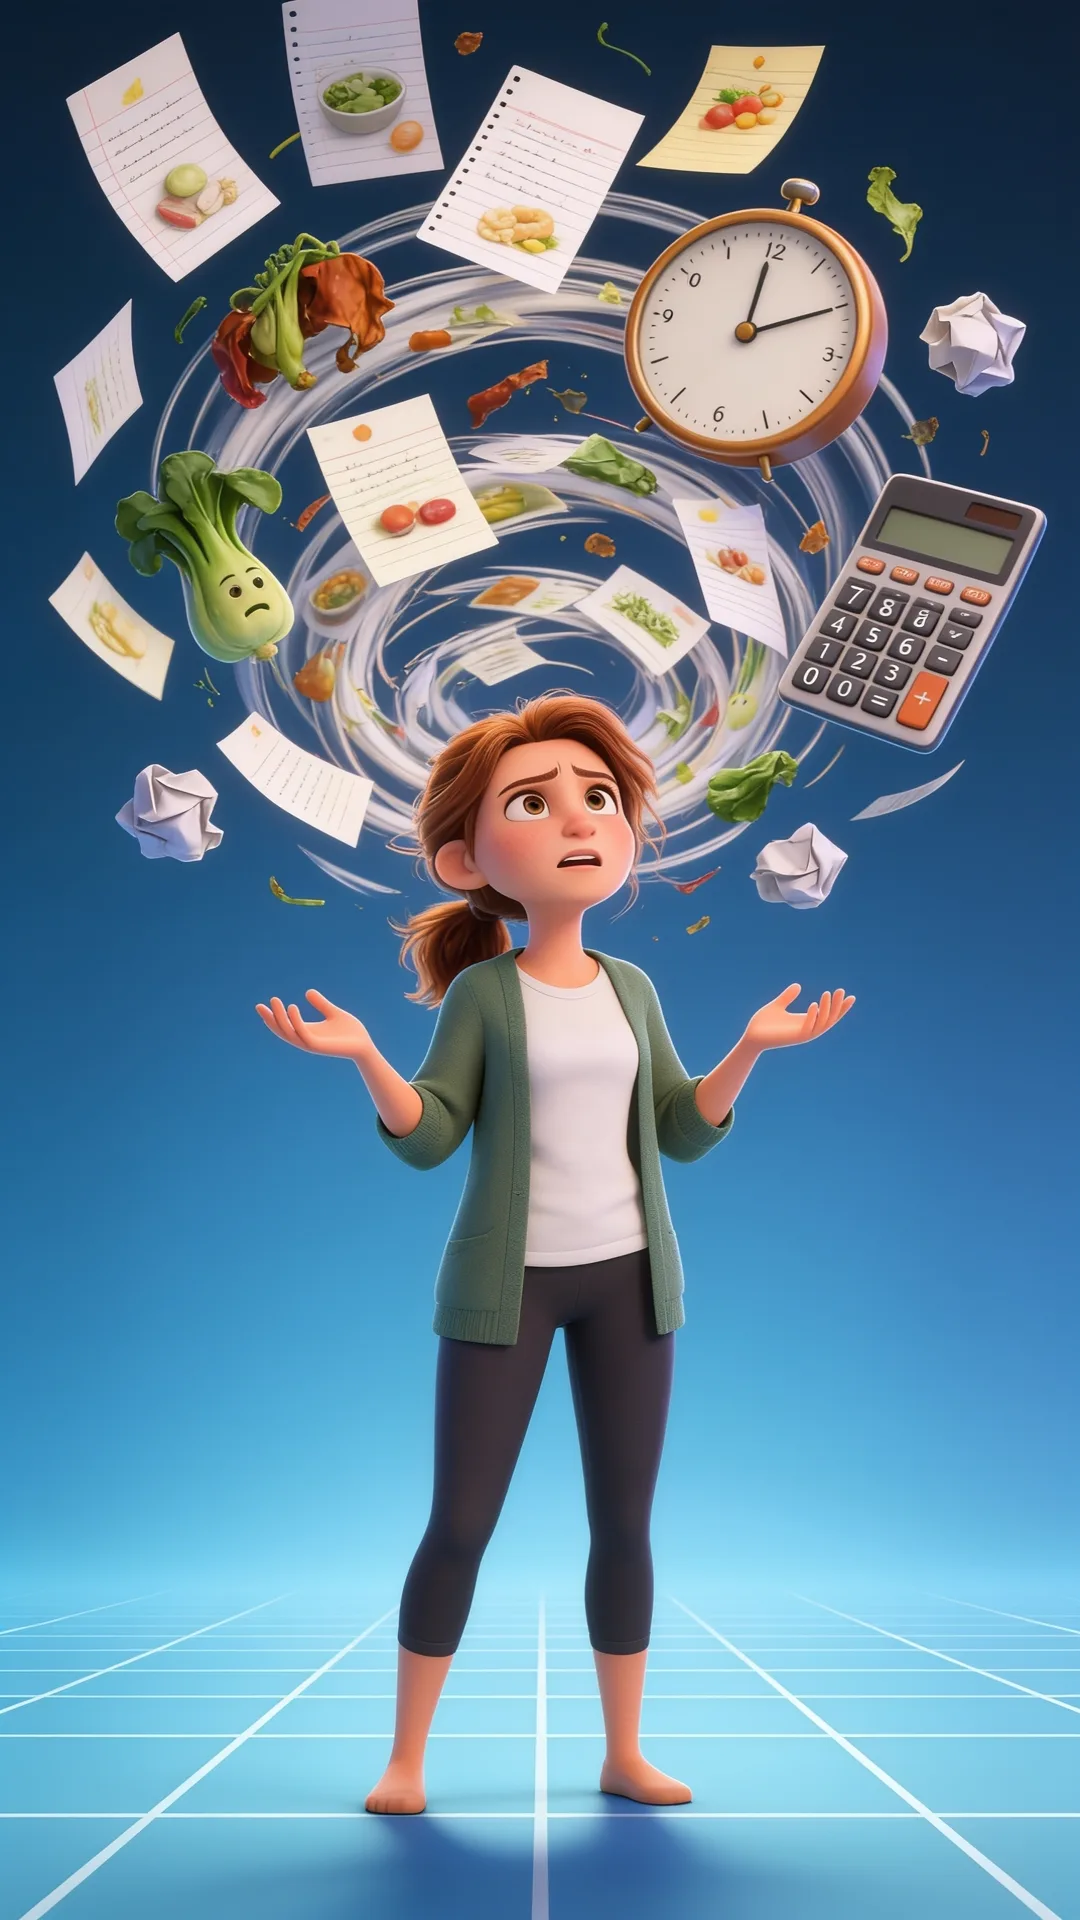 The light grid stage plate, attached as the world referenceThe locked character sheet
On models: Seedream 4.5 leads for this style. It produces more interesting characters, composition and camera angles than anything else right now. Nano Banana 2 is the retouch layer: when a Seedream frame is 90 percent right, attach it and fix the last 10 percent there instead of rerolling and gambling the face.
Of the 35 generations in this build, 21 were Seedream 4.5 and only 2 were Nano Banana 2 touch-ups.
Step 8: Batch the shots and let the model do the transitions
This is the part almost nobody does, and it is where the continuity comes from.
Instead of animating each shot separately and cutting between them, hand the video model several shots in one generation and state every transition in the prompt. The model resolves the movement between scenes internally.

The batch plan in the chat: the 20 shots grouped into 10 generations, each with its images and transition strategy
The chat grouped the 20 shots into 10 batches, each one a single generation with up to 9 reference images and a stated transition strategy.
Shot 1 frame: the chaos spiral hook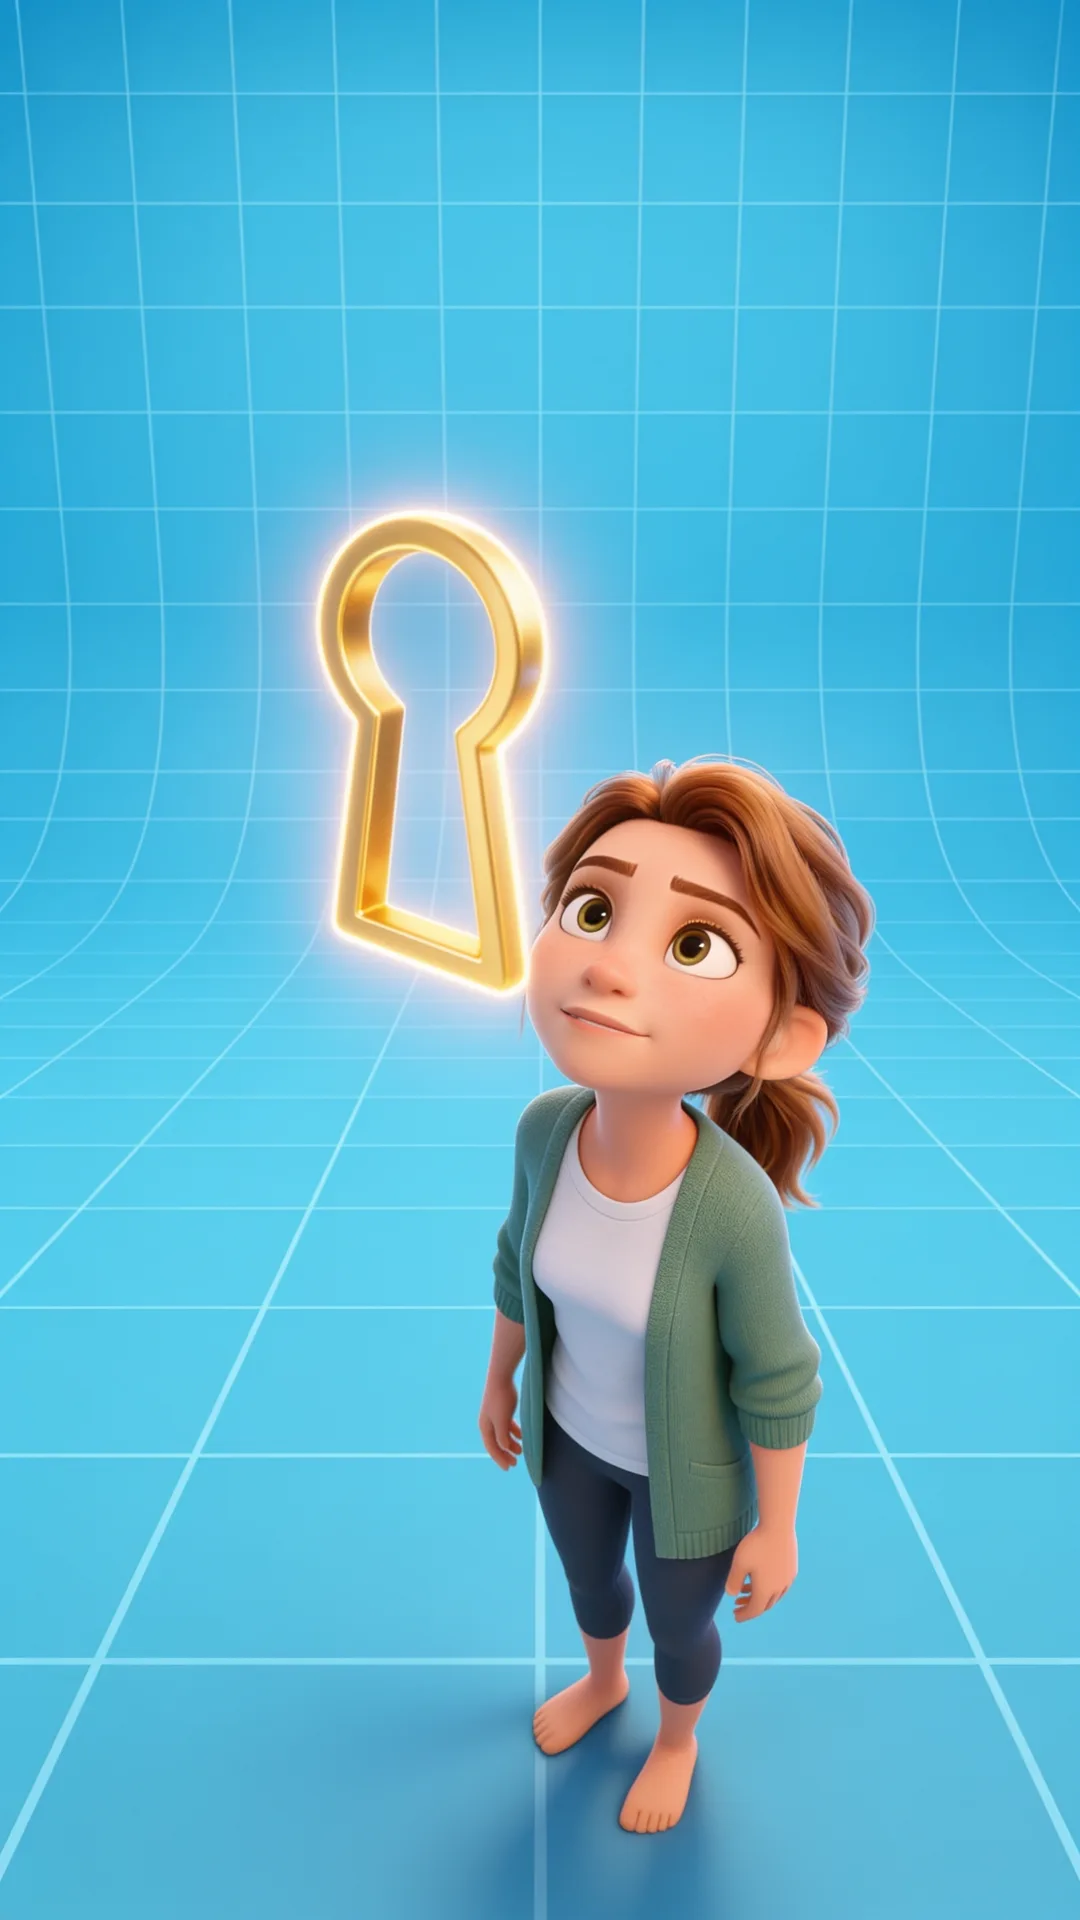 Shot 3 frame: the golden keyholeShot 1 frame: the chaos spiral hookShot 3 frame: the golden keyhole
Between batches, the same trick at a different level: pull the last frame of one generation and hand it to the next as its starting reference. That is how the seams between generations disappear too, not just the seams inside them.
I tested Seedance 2 Mini against Gemini Omni Flash head to head on the first batch. Seedance respected the reference images slightly better, but Gemini was in a different league on the transitions, which is the entire point of this format. Same price, easy call, Gemini did the other nine.
Step 9: Assemble in your editor
If the storyboard was timed properly, the edit is short.

The CapCut timeline: the batched clips laid against the voiceover, one clip slowed to fit its shot, a title hook over the first frame
Drop the clips against the voiceover and nudge: a clip slowed to 0.8 here, one sped up there, a trim where a generation ran long. That is normal. Video models give you the nearest supported duration, not the exact one you asked for.
Three things always happen in the editor, never in generation: captions, the title hook over the opening frame, and the music. In-frame generated text is still where these models fail, and the skill ships the format's actual music track so you are not hunting for it.
Next steps
The order is the whole workflow: research, script, voiceover, stage plate, character, storyboard, batches, edit. Skip ahead to generating pretty blue frames and you get something that looks close and reads fake.
The skill file below carries every rule in this post, the five stage plates, the narrator voices and the music. Drop it into Claude or any agent and it runs this order with you.
Free, no account required. Get it here.