Contents
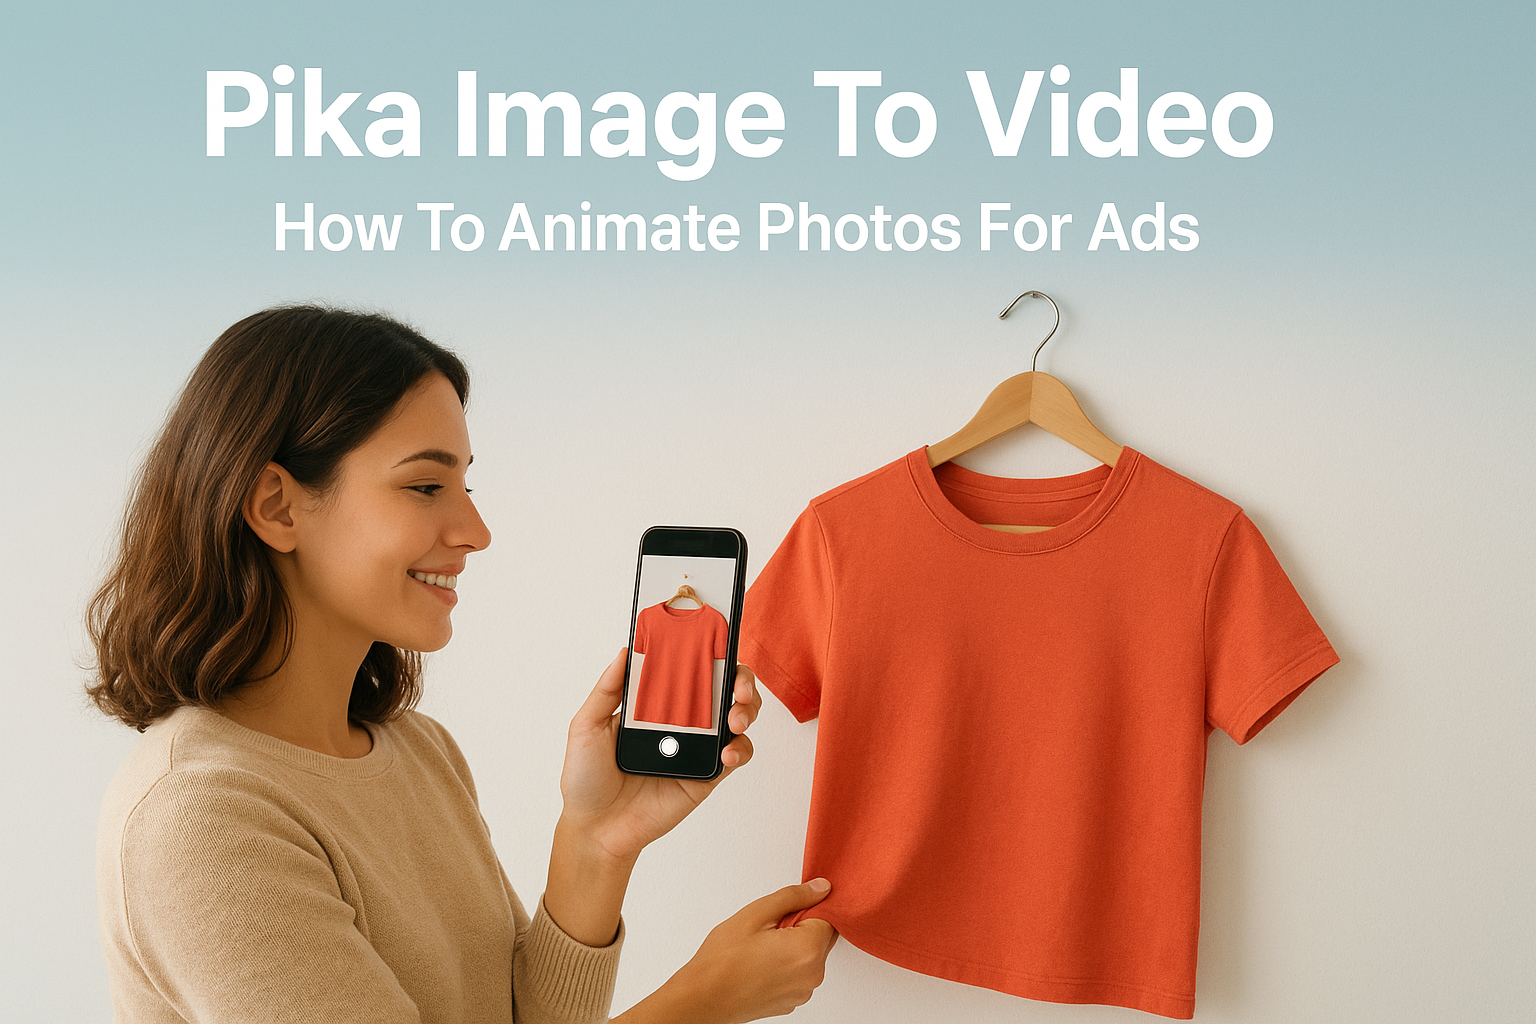
0%Pika's pika image to video feature turns static product photos into animated clips, no filming, no editors, no production budget. For e-commerce brands and ad teams running high-volume creative tests, that's a real unlock. You upload a photo, describe the motion you want, and Pika generates a short video you can drop straight into an ad campaign.
But Pika is just one model in a growing stack of AI video tools, and knowing how to use it well matters more than just having access. This guide breaks down exactly how to animate images with Pika step by step, what settings actually produce ad-quality results, and where the tool hits its limits.
We built Starpop to give marketers a single workspace where they can access Pika alongside other frontier models, like Sora, Kling, and Veo, without juggling separate subscriptions. So throughout this guide, we'll show you how the image-to-video workflow fits into a faster, more scalable ad creation process.
What you need before you start
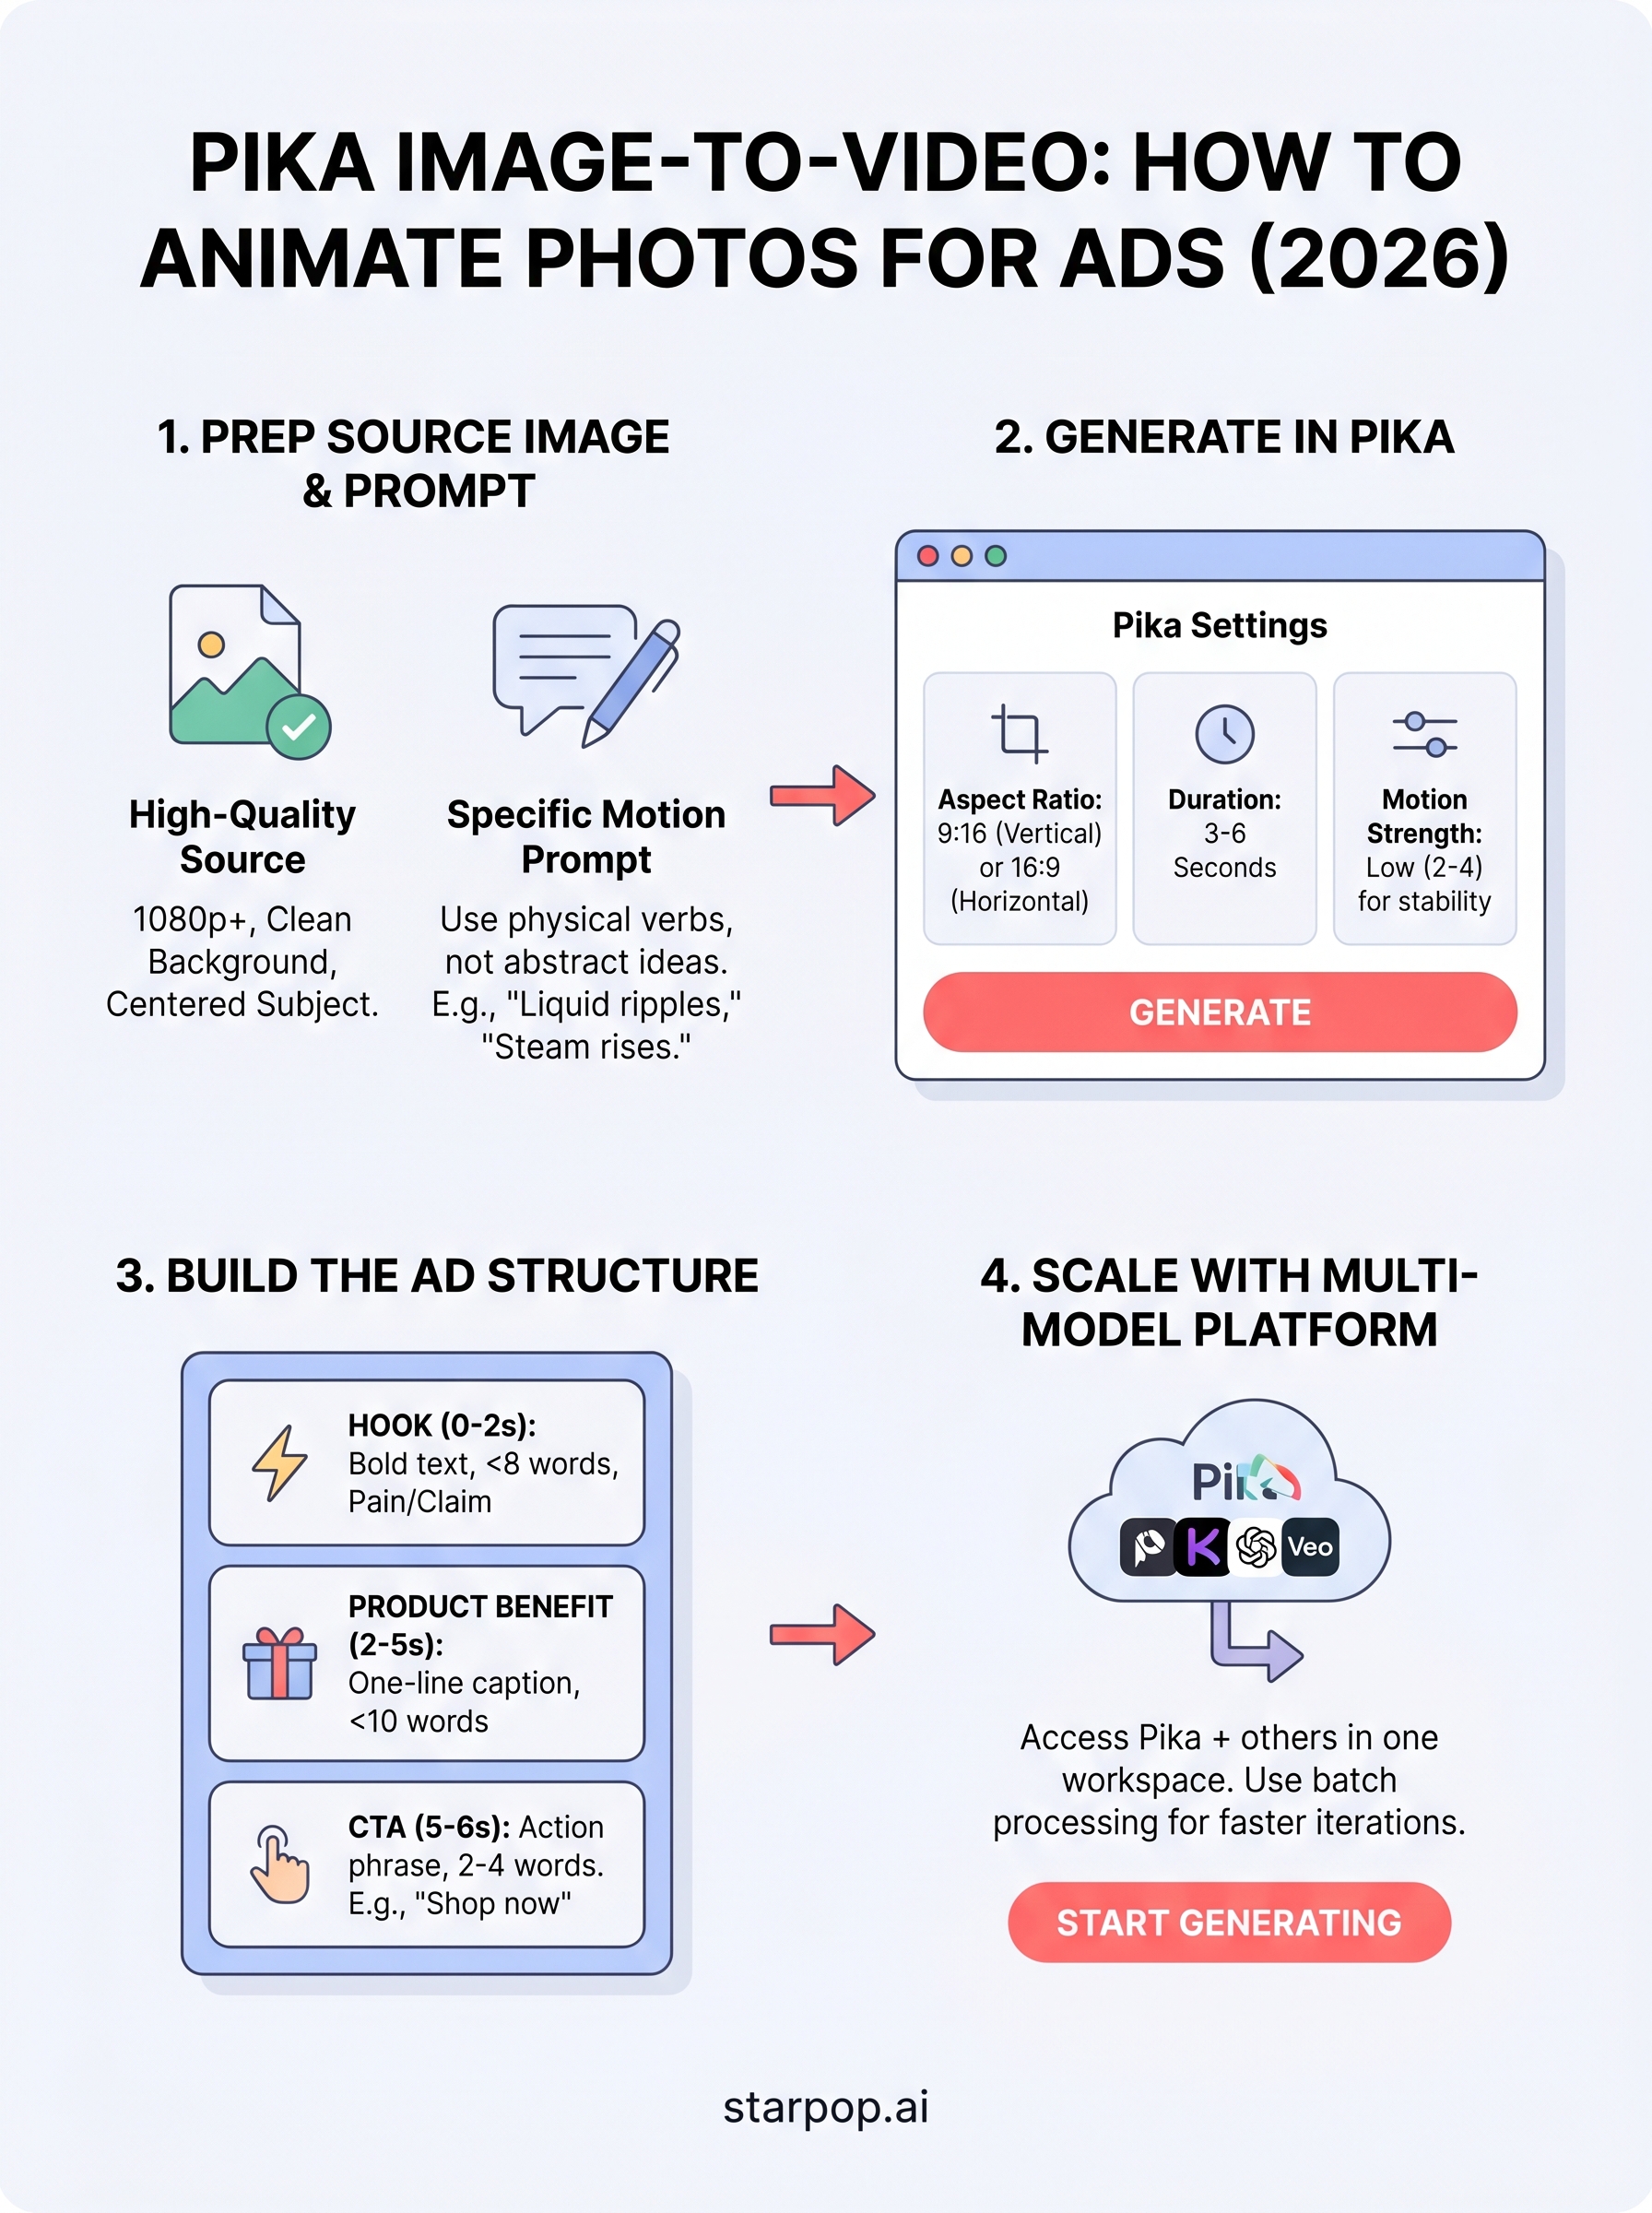
Before you run your first pika image to video generation, a few minutes of prep work will save you hours of iterating on bad outputs. Most failed animations come down to two things: poor source images and vague motion prompts. Getting both right before you click generate is what separates a clip that looks like a real ad from one that looks broken or off.
The right image files
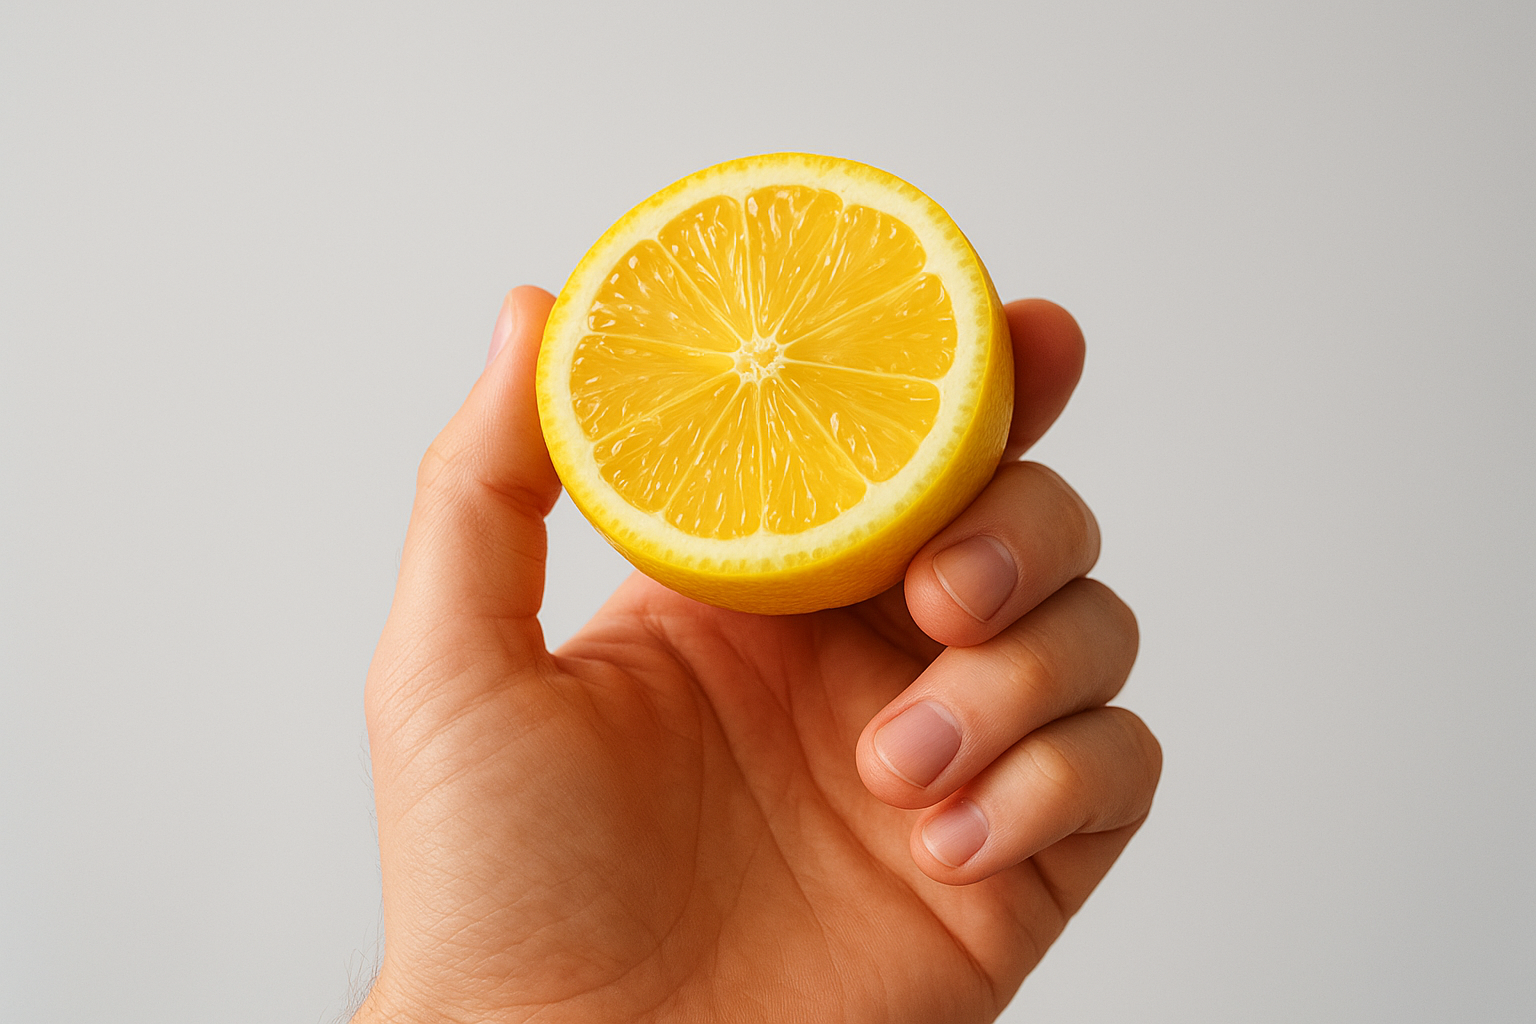
Pika works best with high-resolution images, ideally 1080p or above. Low-resolution photos introduce compression artifacts that the model amplifies during animation, and the result looks blurry or distorted on any screen larger than a phone. For ad creative specifically, you want clean product shots on simple backgrounds, since complex scenes with lots of fine detail confuse the model and produce unnatural, warped motion.
Here is a quick checklist of what your source image should include:
- Resolution of at least 1080 x 1080 pixels
- A clear subject that fills the majority of the frame
- Minimal busy background elements (solid, gradient, or softly blurred backgrounds work best)
- Consistent, even lighting with no harsh shadows cutting across the main product
- A single focal point rather than multiple competing objects in the same plane
If your product photo was shot on a cluttered background, use an AI background removal tool to isolate the subject before you animate it.
A clear motion concept
Knowing exactly what motion you want before you open Pika saves you both credits and time. The model responds well to specific physical descriptions like "the liquid in the bottle ripples gently" or "steam rises slowly from the cup" rather than abstract instructions like "make it look cool." Write your motion prompt in plain, descriptive language that explains what part of the image moves and how.
Your aspect ratio and clip length also matter before you start. For feed ads on TikTok or Instagram, a 9:16 vertical format between 3 and 6 seconds performs best. For display or YouTube pre-roll, 16:9 at 6 seconds gives you enough runtime to hook a viewer without overstretching a short animation loop. Settling on both upfront keeps your output ready to drop straight into a campaign without reformatting.
Account access and credit budget
You need an active Pika account before you generate anything. Pika offers a free tier with limited monthly generations, which is enough to test the feature, but running multiple ad variations burns through free credits fast. If you plan to use image-to-video at any real volume, a paid plan or a multi-model platform that includes Pika will cost you far less time and money than manually managing a free-tier cap.
Step 1. Choose your workflow and get access
You have two practical paths into the pika image to video workflow: access Pika directly through its own platform, or use a multi-model platform that bundles Pika alongside other top AI video models. Which one makes sense depends on how many assets you plan to produce and whether you're running this for one brand or across multiple client accounts.
Use Pika directly
Pika's own platform gives you direct access to the image-to-video feature through a clean web interface. Sign up for a free account to test the feature with a limited monthly credit allowance. If you want to run more than a handful of generations, you'll need a paid subscription before you build ad creative at any real scale.
The free tier is useful for getting familiar with motion controls and running a few test animations. Once you start iterating across multiple product shots or testing different motion prompts for the same image, you'll hit the credit ceiling fast.
Use a multi-model platform
If your workflow needs more than one AI video model, a platform like Starpop gives you access to Pika, Kling, Sora, and Veo from a single dashboard under one subscription. That matters for ad teams matching different visual styles to different campaigns without paying for four separate tools. Starpop also supports batch processing of up to 20 assets simultaneously, which is far faster than queuing generations one at a time inside Pika's native interface.
A multi-model platform makes the most sense when you're testing more than one AI video style inside the same campaign.
Step 2. Prep a photo that animates well
The quality of your source photo determines how far you can push pika image to video before the output looks broken. AI animation models extrapolate motion from pixel data, so any noise, clutter, or inconsistent lighting in your original image gets magnified in the final clip. Spending five minutes cleaning your photo before you upload it consistently produces better results than spending thirty minutes prompting around a bad source file.
Clean and crop your image
Before you upload anything, run your photo through a quick editing pass. You want a single, well-lit subject centered in the frame with enough negative space around it so the model has room to animate without cropping into the edges. Remove busy backgrounds, balance the exposure, and sharpen the main subject slightly so details read clearly after video compression. A clean crop at your target aspect ratio (9:16 for vertical ads, 16:9 for horizontal) means you won't lose important parts of the frame when Pika renders the clip.
Isolate your product on a plain or softly blurred background before uploading. Pika handles simple scenes far better than complex ones.
Write a motion prompt before you open Pika
Your motion prompt should describe a specific physical action tied to part of the image rather than a mood or a feeling. Use this template as a starting point before you touch any settings:
[Subject] [verb describing movement], [direction or intensity], [camera behavior if relevant]
Examples:
- "The perfume bottle rotates slowly clockwise, soft studio light catching the glass"
- "Steam rises gently from the coffee cup, no camera movement"
- "The jacket fabric ripples slightly in a light breeze from the left"
Concrete, physical descriptions give the model clear instructions and cut down on wasted generations.
Step 3. Generate image-to-video in Pika
With your image cleaned and your motion prompt written, you're ready to run the actual pika image to video generation. The settings you choose at this stage directly control the quality and usability of the output, so moving through them deliberately will save you credits on repeat generations.
Upload your image and set the parameters
Log into your Pika account, select the image-to-video option, and upload your prepped photo. Once the image loads, paste your motion prompt into the text field. Before you click generate, set these parameters deliberately:

| Setting | Recommended value for ads | Why it matters |
|---|---|---|
| Aspect ratio | 9:16 (vertical) or 16:9 | Matches feed and display placements |
| Duration | 3 to 6 seconds | Long enough to show motion, short enough to loop cleanly |
| Motion strength | 2 to 4 (on a 1-10 scale) | High values warp fine product details |
| Seed | Lock it after a good result | Lets you rerun with minor prompt edits |
Keep motion strength below 5 for product-focused ads. Higher values create dramatic movement that distorts labels, textures, and edges.
Review and iterate on your output
Once Pika returns your clip, watch it at least twice before accepting it. Check that the main subject stays sharp, the motion matches your prompt, and no background elements stretch or blur unnaturally. If the clip looks off, adjust one variable at a time, either tightening the prompt or lowering the motion strength, rather than changing multiple settings at once. Changing one thing per generation tells you exactly what fixed the problem.
Step 4. Turn the clip into an ad that sells
A raw pika image to video output is a starting point, not a finished ad. The clip gives you motion, but it doesn't give you a message. Before you push anything to a campaign, you need to add copy, a hook, and a clear call to action that connect the animation to a buying decision.
Add a hook in the first two seconds
Your ad loses most viewers in the first two seconds, so the opening frame needs to do immediate work. Place a short, bold text overlay at the top of the frame that names the problem your product solves or states a specific benefit. Keep it under eight words. "Skin this dry in winter?" or "Ship orders in half the time" work because they create a gap the viewer wants to close.
The hook is not your brand name. Save that for the middle or end of the clip.
Structure the clip like a proven ad format
Once your hook lands, the rest of the three to six second clip follows a simple structure: problem, product, proof. Your animated image covers the product moment. Pair it with a one-line caption that names the benefit, then close with a direct call to action like "Shop now" or "Try it free." Use this overlay text template as your starting point for every clip you build:
[Frame 1 - Hook]: [Pain point or bold claim, under 8 words]
[Frame 2 - Product]: [Benefit statement, under 10 words]
[Frame 3 - CTA]: [Action phrase, 2-4 words]
Export your finished clip as an MP4 at 1080p before uploading to any ad platform.
Next steps
You now have a complete pika image to video workflow: clean source image, focused motion prompt, dialed-in generation settings, and an ad structure that gives the clip a job to do. The process works, but speed and volume are what separate teams that test five ad variants from teams that test fifty.
Running this workflow inside a single platform cuts out the friction of switching between tools mid-campaign. Starpop gives you access to Pika, Kling, Sora, and Veo in one workspace, with batch processing for up to 20 assets at once so you can test multiple motion concepts against the same product image without burning a full afternoon on individual generations. Your team can also share workspaces and pool credits across client projects, which keeps everything organized as your output scales. If you want to move faster on ad creative without adding headcount, start generating with Starpop and run your first batch today.