Contents
0%Runway's Gen-3 Alpha made runway image to video one of the most accessible ways to turn a still photo into a fully animated clip. Whether you're breathing life into a product shot or building out a scene for a social ad, the process takes a single image and a text prompt and returns a usable video in under a minute. But getting good results, consistent motion, no warping, clean subject movement, requires more than just clicking "generate."
This guide walks you through the exact steps to go from a static image to a polished video inside Runway, covers model differences, prompt tips that actually matter, and common mistakes that waste credits. We'll also show you how platforms like Starpop let you access Runway alongside other top video models, Sora, Kling, Veo, from a single workspace built for marketing teams who need volume without the tool-juggling.
What Runway image to video is and when to use it
Runway is a browser-based AI studio, and its image-to-video feature sits inside its Gen-3 Alpha and Gen-4 toolset. You upload a still image, write a short motion prompt, and Runway's model predicts how that scene should move across roughly 4 to 10 seconds. The output is an MP4 clip you can download immediately, edit further, or drop straight into your ad pipeline without touching a traditional video editor.
How the models actually work
Runway's image-to-video models use a diffusion-based process to interpolate motion from a single frame. Gen-3 Alpha focuses on realistic, photographic movement and handles human subjects well, which makes it the default pick for UGC-style ads and product demos. Gen-4 adds stronger prompt adherence and improved subject consistency across longer clips, so it performs better when a character or object needs to stay recognizable from the first frame to the last.
The model doesn't interpret your image the way a person would; it predicts motion patterns that statistically match your prompt, so clean, uncluttered images return far more predictable results than busy compositions.
When to reach for runway image to video
The feature earns its place in a few specific situations. Product-focused e-commerce brands use it to animate a single approved hero shot into a short, scroll-stopping clip without booking a video shoot or sourcing an actor. Marketing agencies use it to generate multiple ad variations from one static asset, swapping motion prompts to test different camera moves or energy levels across an entire campaign.
It's less practical when you need a long scene, precise lip-synced dialogue, or tight frame-to-frame continuity across several clips. For those jobs, a platform that chains multiple specialized models together will give you more control and fewer wasted credits.
Step 1. Prep the image for better motion and clarity
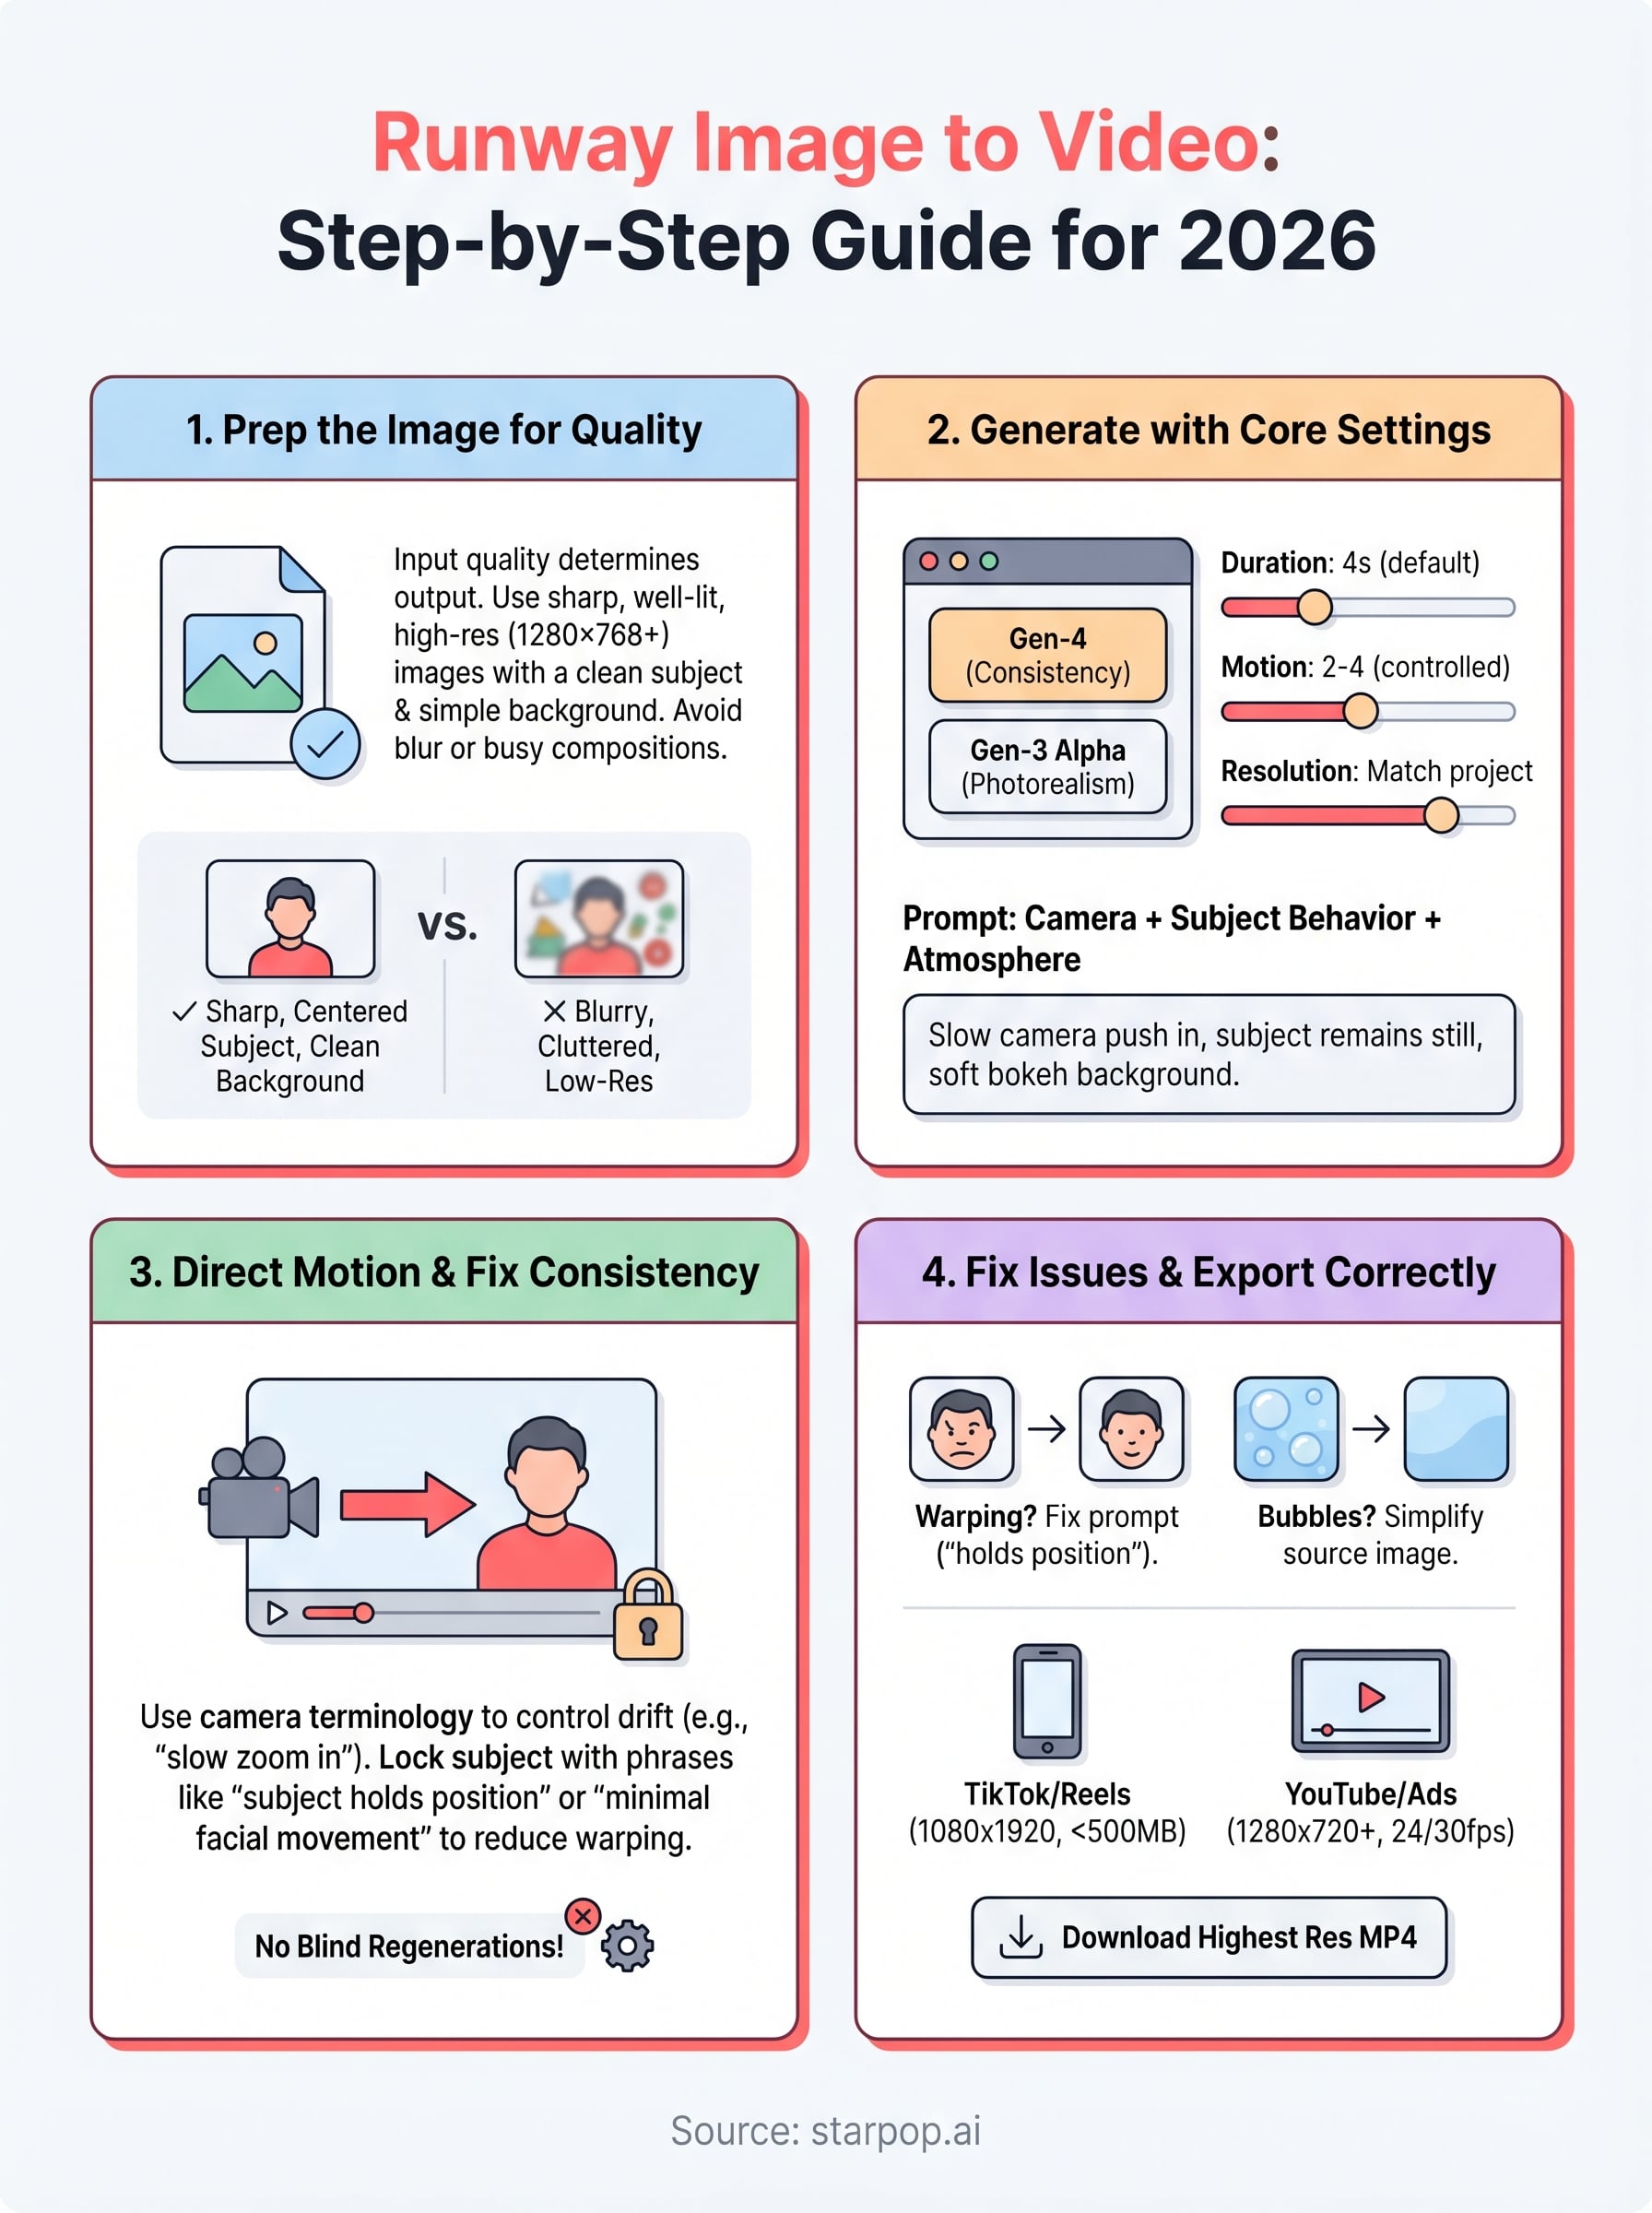
Before you touch the Runway interface, the quality of your input image determines almost everything about the quality of your output clip. Runway's model reads pixel data to predict motion, so a sharp, well-lit, low-noise image gives the model clear information to work with and dramatically reduces warping artifacts.
A blurry or over-compressed image won't get sharper after generation. Fix it before you upload.
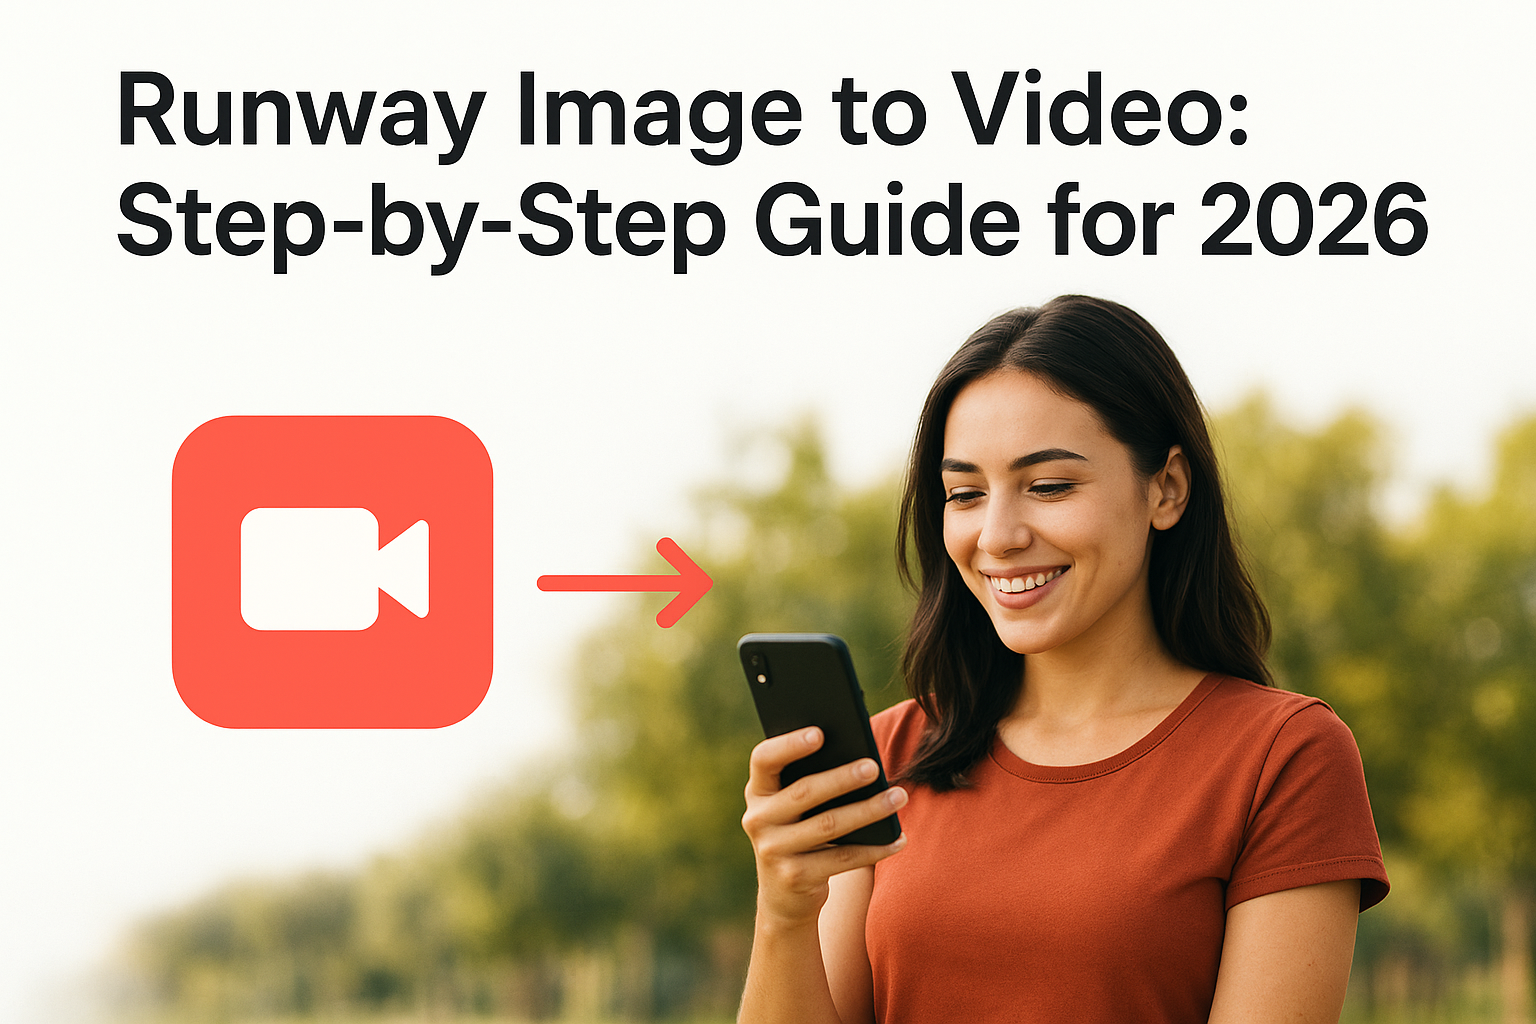
Match format, resolution, and composition
Runway's image-to-video pipeline works best with specific technical constraints. Use this checklist before you upload:
- Resolution: 1280x768 or 768x1280 minimum; avoid anything below 720p
- Format: PNG or high-quality JPG (avoid heavily compressed files)
- Subject placement: Center your main subject with clear negative space around it
- Background: Keep it simple; busy backgrounds increase the chance of distortion
- Lighting: Even, diffused light on the subject produces cleaner motion edges
Your composition also matters here. A single focal subject with clear foreground-background separation gives the runway image to video model a clean anchor point to animate from, rather than letting competing elements pull the predicted motion in unintended directions. Crop tightly to your subject before uploading if you need to improve this.
Step 2. Generate your first image-to-video clip in Runway
With your image prepped, head to Runway's Image to Video tool inside your dashboard. Select Gen-4 if you need consistent subject tracking, or Gen-3 Alpha for fast, photorealistic motion on simpler scenes. Both options appear in the same interface, so switching between them costs you nothing but a few seconds.
Pick your model before uploading; changing it after you configure your settings will reset some parameters.
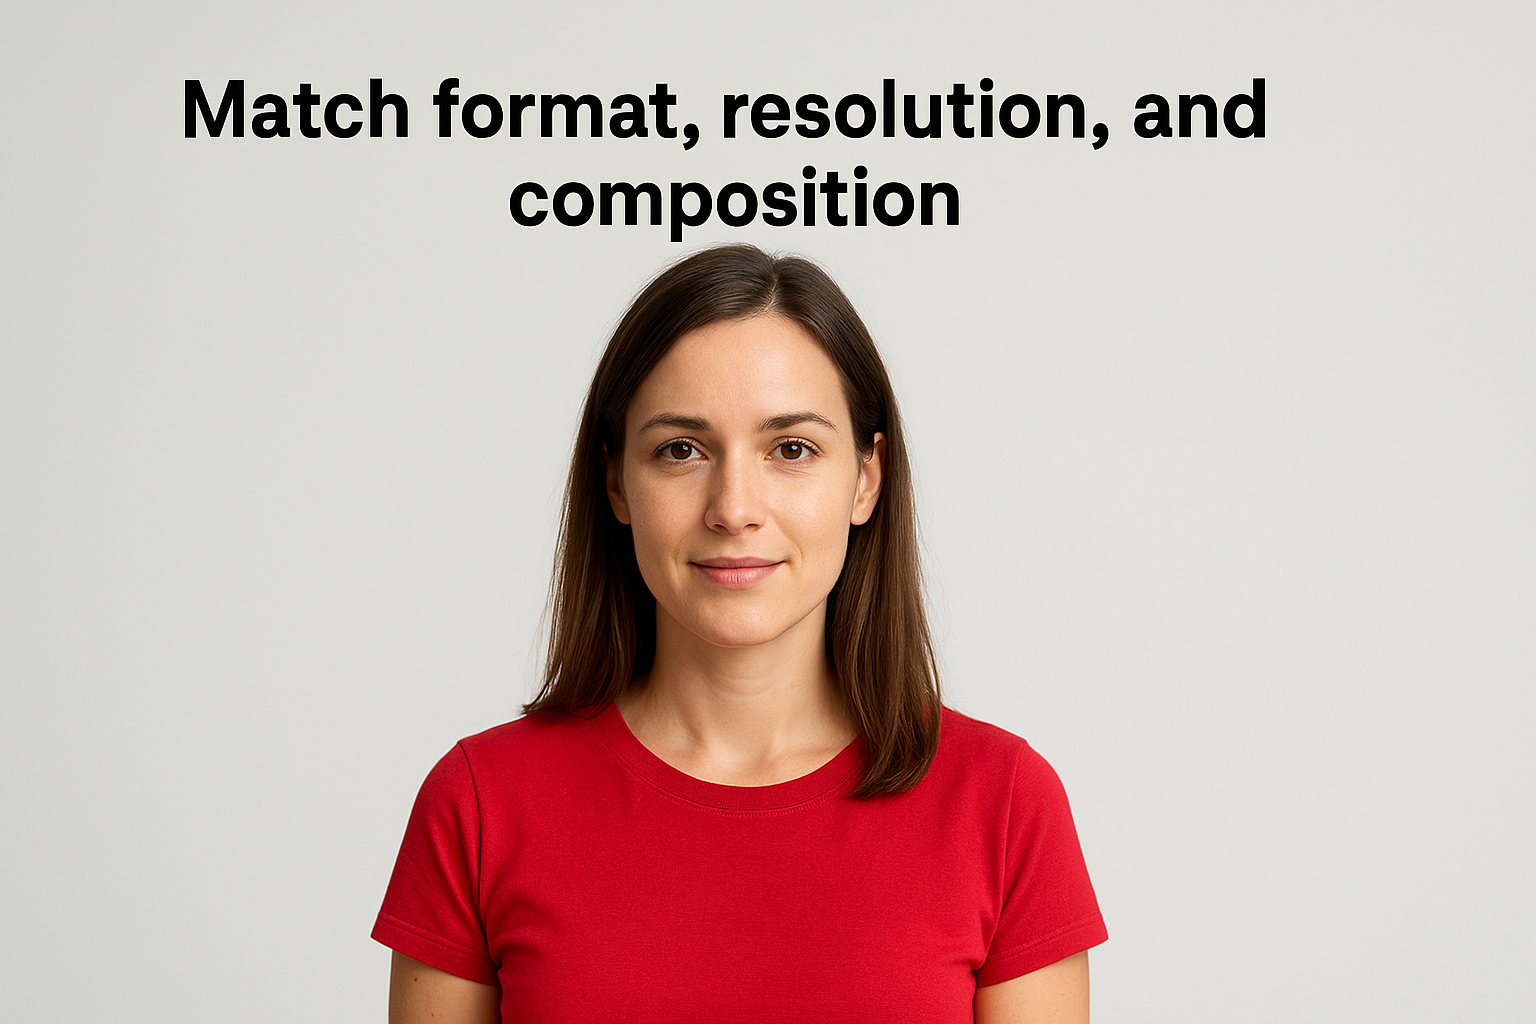
Upload and configure your settings
Click the upload area, drop in your prepped image, and then set these core parameters before you hit Generate:
| Setting | Recommended value |
|---|---|
| Duration | 4 seconds (extend only if needed) |
| Resolution | 1280x768 for landscape, 768x1280 for vertical |
| Motion amount | 2 to 4 for controlled movement |
Write a motion prompt that works
Your text prompt drives the motion, not the subject content. Keep it short, specific, and focused on movement. For a product shot in a runway image to video workflow, try: "Slow camera pull back, soft focus blur on background, subject stays sharp and still." Avoid describing what is already visible in the image since Runway already sees that, and repeating it tends to confuse the generation.
Use this structure to build your own prompts quickly:
[Camera movement] + [Subject behavior] + [Atmosphere or depth cue]
Example: "Slow push in, subtle hair movement, warm bokeh background"
Step 3. Direct motion, camera, and consistency
Once you get your first clip back, you'll notice that Runway's default motion can feel random or too aggressive. The key to fixing this is controlling the generation through targeted prompt language and a few settings adjustments before you regenerate. This is where most users leave credits on the table by regenerating blindly instead of diagnosing what went wrong.
Use camera control language in your prompt
Runway responds directly to camera terminology in your text prompt. Precise language gives the model a clearer instruction set and reduces unwanted drift across the clip. Use the template below as a starting point for any runway image to video generation:
[Camera action] + [Speed modifier] + [Subject behavior] + [Stability cue]
Example: "Slow zoom in, subject remains stationary, background slightly defocused, no camera shake"
The more specific your camera instruction, the less the model fills in unpredictable motion on its own.
Lock subject consistency across frames
Subject warping usually happens when your prompt competes with what the model wants to do with the background. Keep your subject behavior description explicit and brief (one clause maximum), and let the camera move instead of the subject. For a product or face, phrases like "subject holds position" or "minimal facial movement" reduce distortion significantly between the first and last frame.
Step 4. Fix common issues and export for your channel
Most runway image to video problems fall into two categories: motion artifacts in the clip itself, and export settings that don't match the platform you're publishing to. Fixing both takes less time than regenerating blindly from scratch.
Diagnose the most common generation problems
Three issues show up repeatedly across most generations. Match your symptom to the fix below:
| Problem | Likely cause | Fix |
|---|---|---|
| Subject face warps midway | Prompt too vague | Add "subject holds position, minimal movement" |
| Background bubbles or melts | Busy source image | Simplify background before re-uploading |
| Clip cuts out too early | Duration set to 4s | Increase to 6s and reduce motion intensity |
If two regenerations with the same prompt return the same artifact, the problem is the image, not the prompt.
Export settings for each channel
Once your clip looks clean, download the highest available resolution before you compress for any platform. Runway exports as MP4 by default, which works everywhere. For TikTok and Instagram Reels, export at 1080x1920 and keep your file under 500MB. For YouTube Shorts or paid ad platforms, use 1280x720 minimum and verify the frame rate matches your project, typically 24fps or 30fps.
Quick wrap-up
The runway image to video workflow comes down to four variables: a clean source image, a model matched to your use case, a prompt that specifies camera movement over subject behavior, and export settings that match your publishing platform. Get those four things right and you'll cut your wasted credits and regeneration loops significantly.
Runway is a strong standalone tool, but if you're producing ads at volume, switching between Runway, Kling, Sora, and other models from separate dashboards adds unnecessary friction to every campaign. Starpop gives you access to all of those models in one workspace, with batch processing and team collaboration built in for agencies and e-commerce brands that need throughput, not just quality. You can run a Runway generation alongside a Kling variation in the same session and compare outputs before committing to a final cut. Try Starpop's multi-model video workspace and see how much faster your ad production moves when the tools stop competing for your attention.