Contents
0%Adding YouTube Studio subtitles to your videos isn't optional anymore, it's one of the simplest ways to boost watch time, reach, and accessibility in a single move. Viewers scroll with sound off, algorithms index caption text, and international audiences need translations to engage with your content.
The good news: YouTube Studio gives you multiple ways to add, edit, and publish subtitles directly, no third-party software required. The not-so-good news: the interface can be confusing if you've never navigated it before, especially when choosing between auto-generated captions, manual uploads, and typed entries.
This guide walks you through every method step by step, so you can get your subtitles live quickly and correctly. And if you're scaling video production with tools like Starpop, where you can generate AI videos with voice and lip-sync in over 100 languages, having a clean subtitling workflow in YouTube Studio becomes even more essential for publishing at volume.
What subtitles and captions mean on YouTube
Before you touch YouTube Studio subtitles, it helps to know exactly what you're working with. YouTube uses the terms "subtitles" and "closed captions" interchangeably in some parts of the interface, but they're not the same thing, and the difference affects how you should set them up.
Subtitles vs. closed captions: the difference that matters
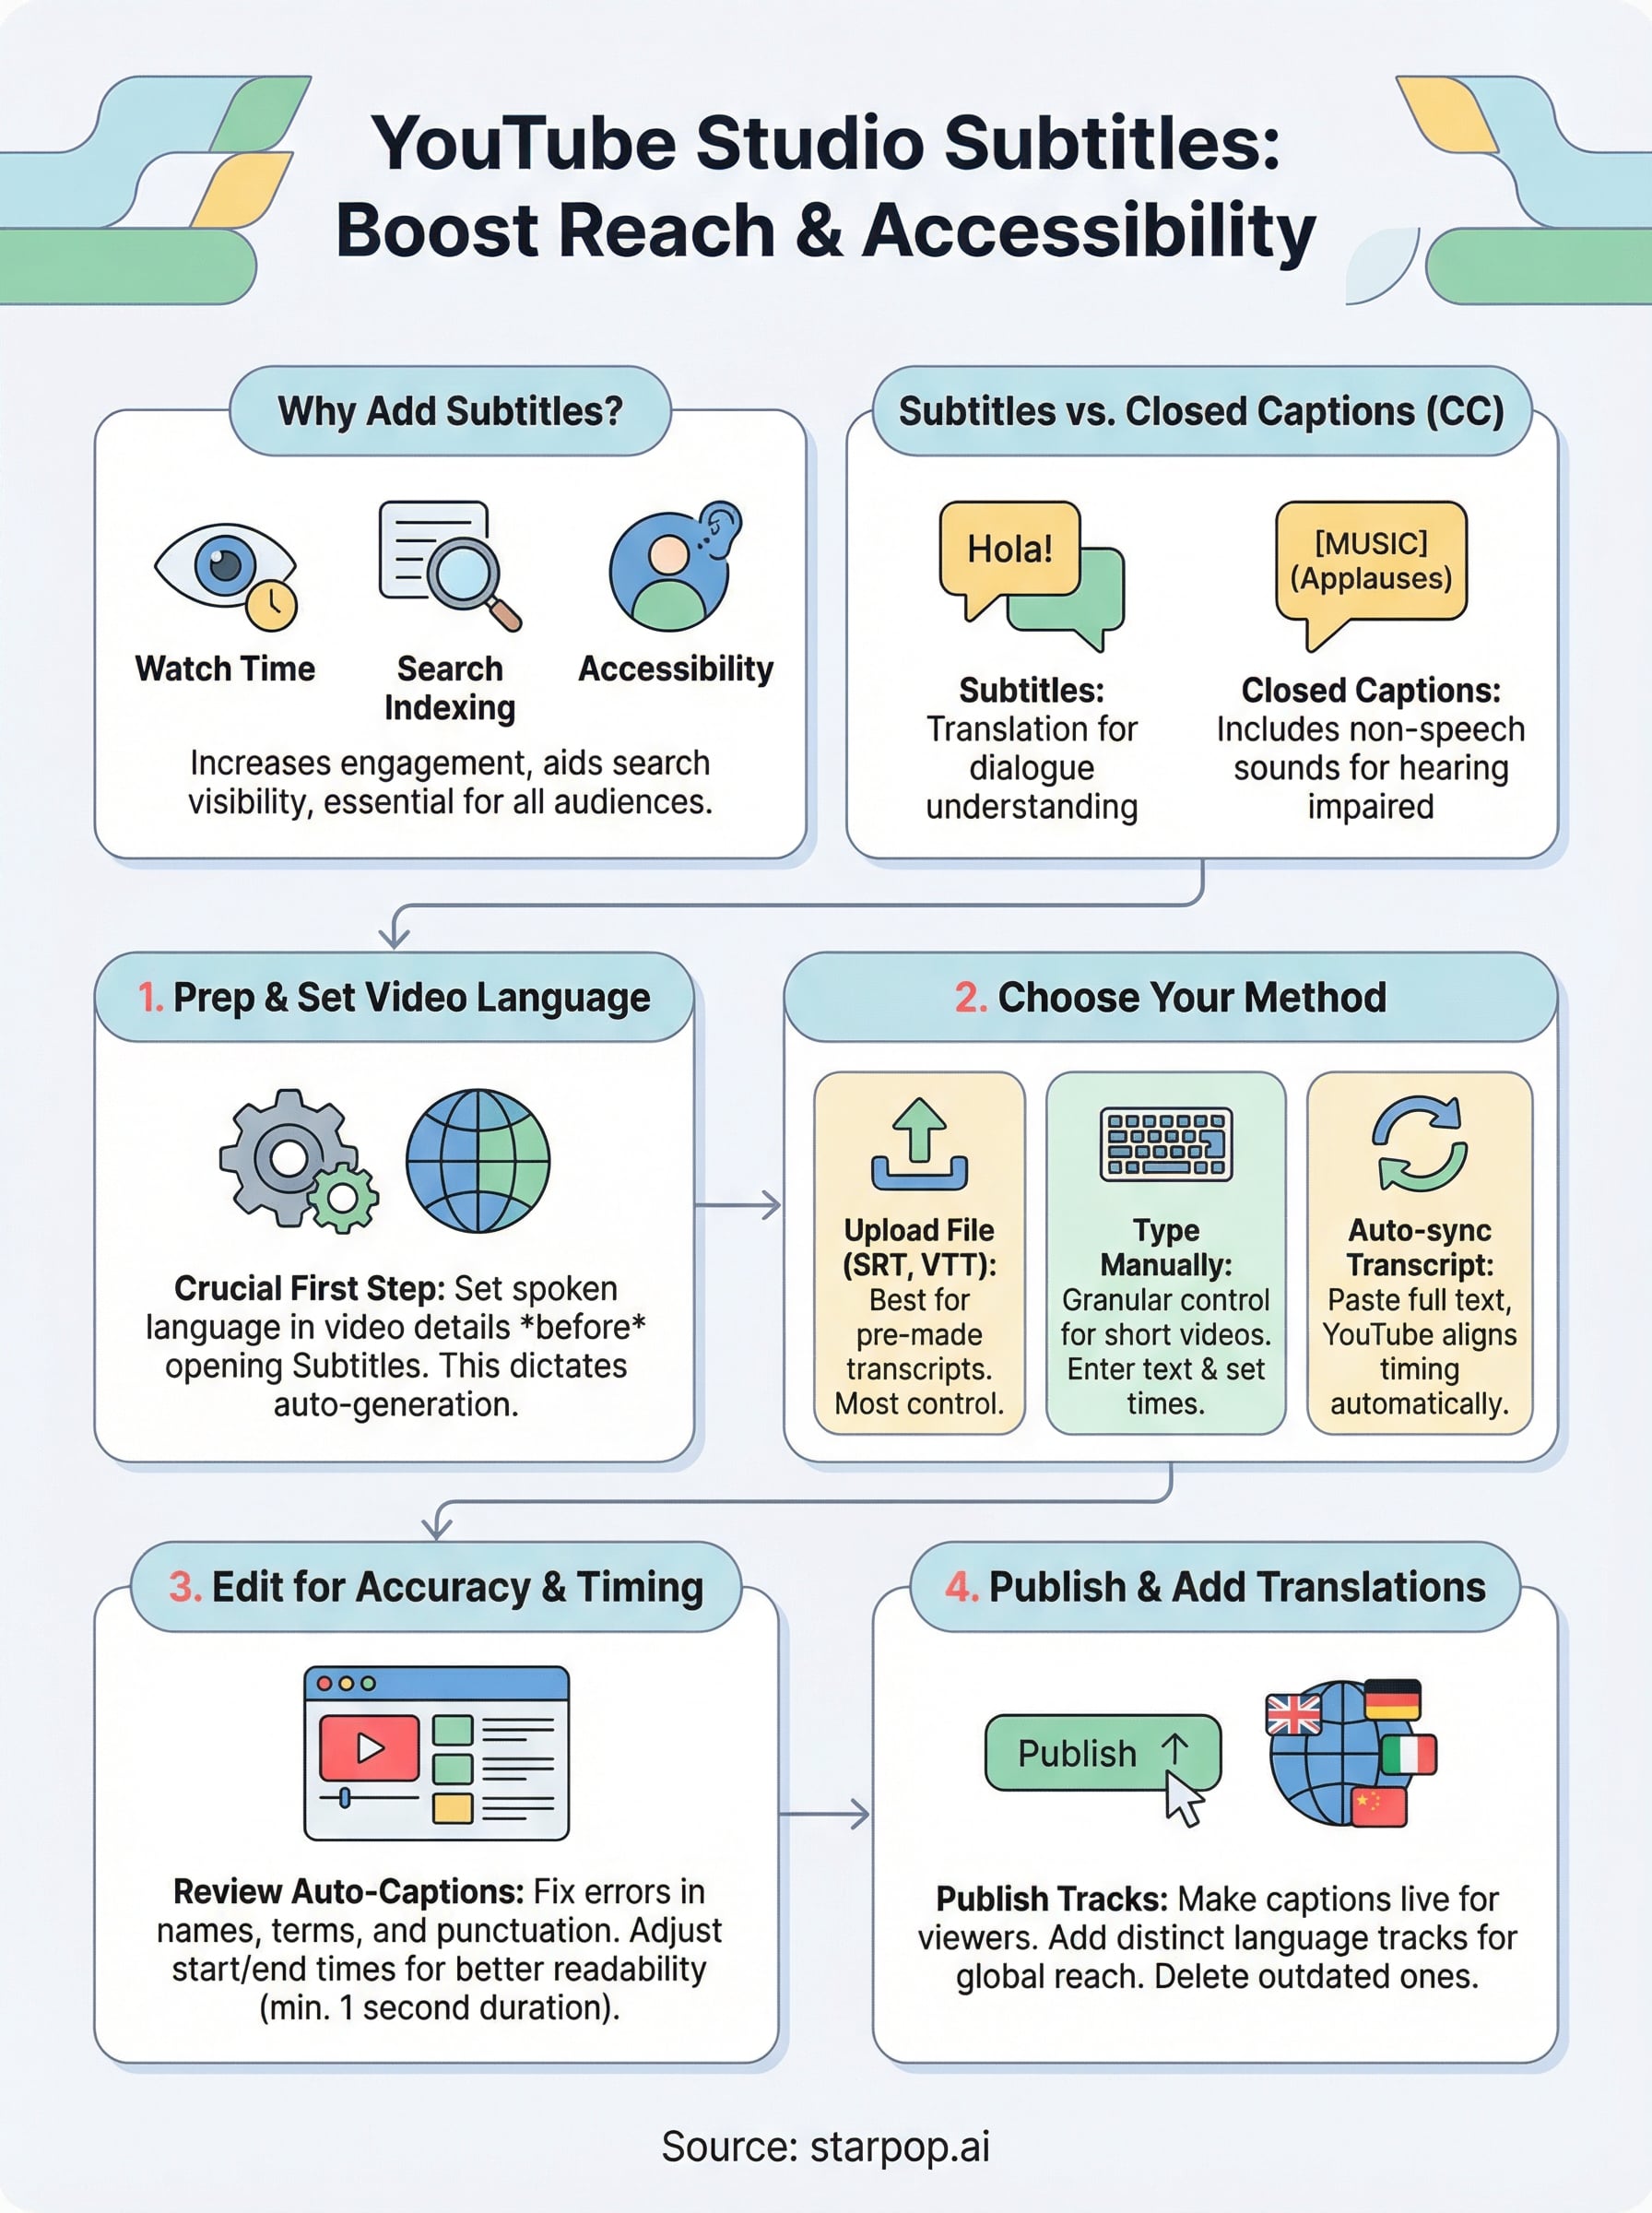
Subtitles are text translations of the spoken dialogue, intended for viewers who understand the audio but need the words in a different language. Closed captions (CC), on the other hand, are designed for viewers who can't hear the audio at all, so they also include non-speech information like [MUSIC] or [APPLAUSE]. YouTube lets you add both types, and you can have multiple tracks on a single video, one per language.
Choosing the wrong track type at upload is one of the most common mistakes creators make, and it changes how your content appears to international and hearing-impaired audiences.
When you upload a subtitle file or type captions manually, YouTube stores each track separately. You can add a Spanish subtitle track, a French closed caption track, and your original English CC track all on the same video, and viewers can switch between them using the CC button on the player.
Why YouTube treats caption text as content
YouTube's systems can read and index your caption text, which means every word in your subtitles contributes to how your video ranks for specific search queries. Auto-generated captions do get indexed, but they're often inaccurate, and inaccurate text sends weaker signals than a clean, corrected transcript.
Manually reviewed or uploaded captions also improve viewer retention and watch time, because a large share of YouTube's audience watches without sound, particularly on mobile. Accurate captions keep those viewers engaged rather than scrolling past. When you understand that captions function as both an accessibility tool and a searchable text layer on your video, the effort you put into editing them starts to pay off in measurable ways.
Step 1. Prep your video language and open Subtitles
Before adding any YouTube Studio subtitles, confirm your video's language setting first. YouTube uses this to determine which auto-generated captions to produce, and skipping it means captions may default to the wrong language or fail to generate at all.
Set the video language first
Open YouTube Studio, click "Content" in the left menu, and select your video. Scroll down in the details page, click "Show more," and find the "Language" field. Set it to match the spoken language in your video, then save before doing anything else with captions.
Setting the video language before touching captions is what tells YouTube which speech recognition model to apply, so don't skip this step.
Follow these steps in order:
- Go to studio.youtube.com and sign in
- Click "Content" in the left navigation panel
- Click your video's title or thumbnail
- Click "Show more" and find the "Language" field
- Select the correct spoken language, then click "Save"
Navigate to the Subtitles panel
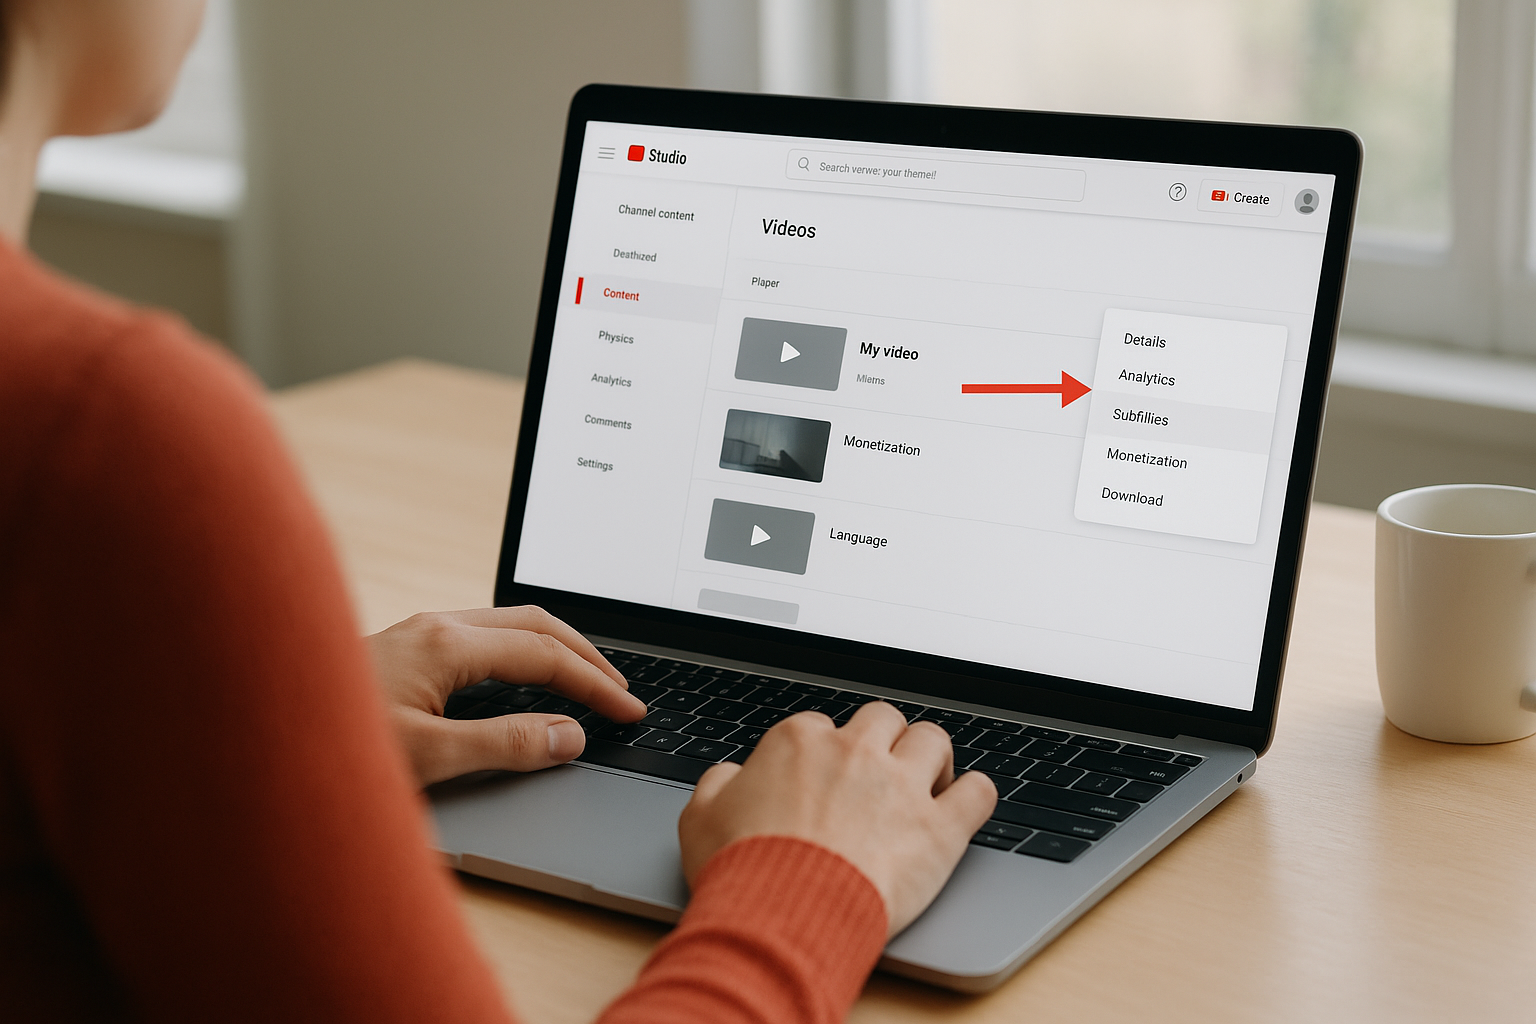
Once your language is set, find your video in the Content library. Click the three-dot menu next to it and select "Subtitles," or open the video details and choose "Subtitles" from the left submenu.
You'll see a screen listing all existing caption tracks. If YouTube has already processed auto-captions, they appear here under your primary language. This is your starting point for every method in the steps ahead.
Step 2. Add subtitles with the best method for you
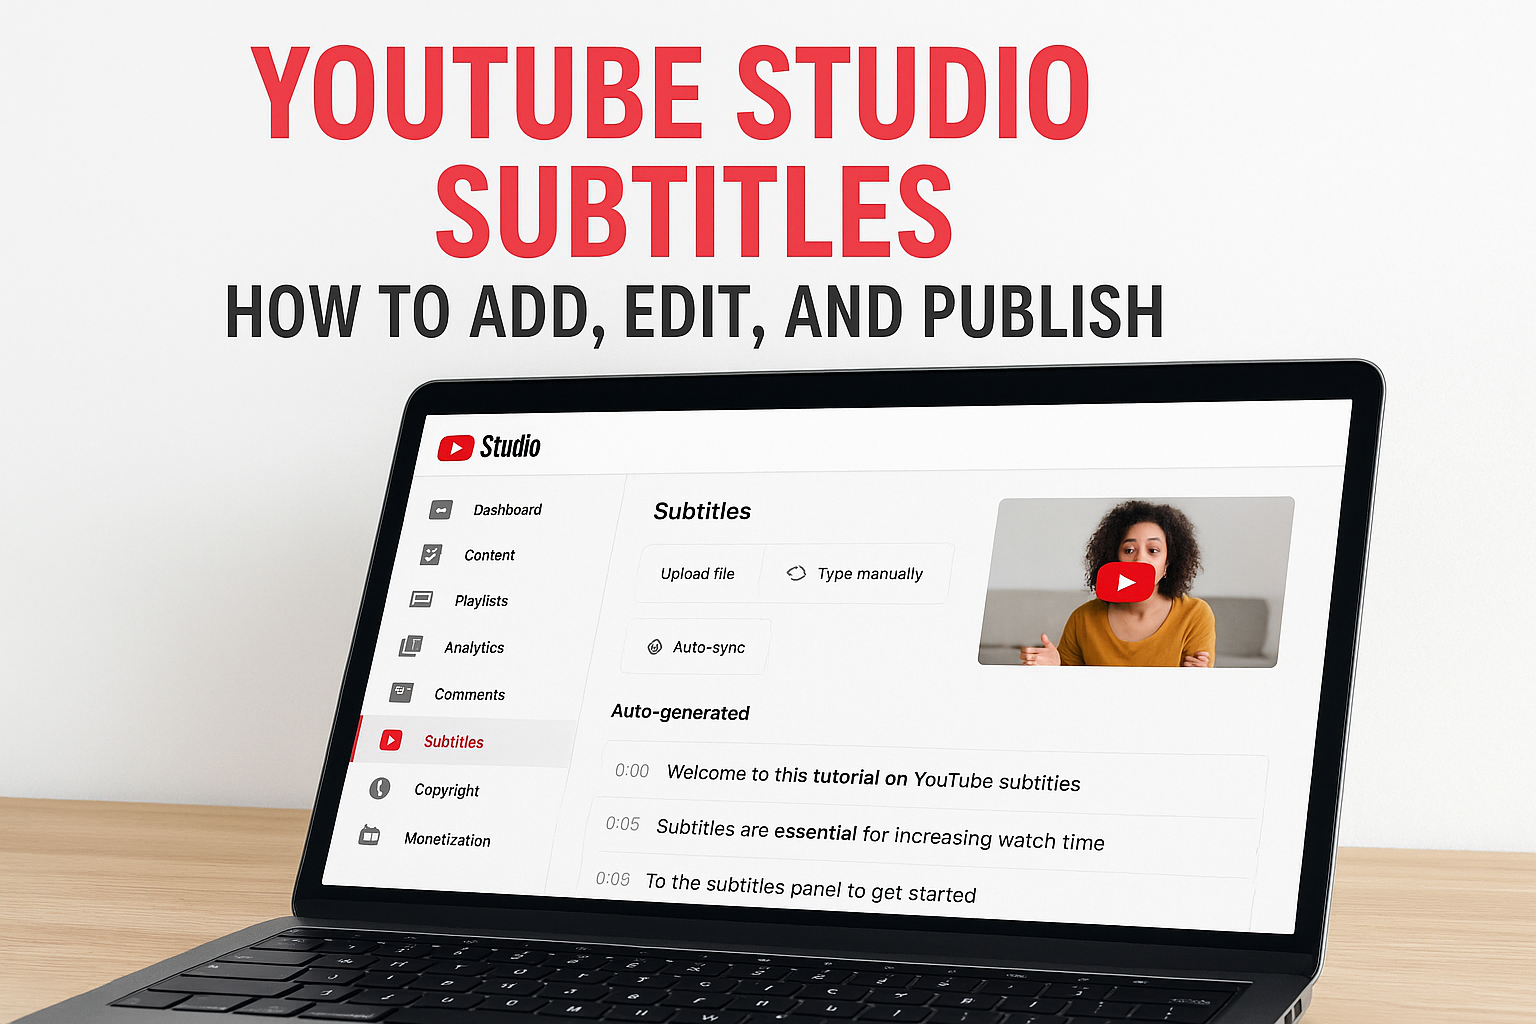
YouTube Studio gives you three distinct methods for adding YouTube Studio subtitles, and each one fits a different workflow. From the Subtitles panel, click "Add" next to your language to see the options: upload a file, auto-sync a transcript, or type captions manually. Pick the method based on how much prep work you have already done before opening the editor.
Upload a subtitle file
If you have a pre-made subtitle file from a transcription service or your video editor, uploading it is the fastest path. Click "Upload file," choose whether it includes timing or is a plain transcript, then select your file. YouTube supports the following formats:
- SRT (.srt)
- WebVTT (.vtt)
- SBV (.sbv)
- MCC (.mcc)
- DFXP/TTML (.xml)
Uploading an SRT file gives you the most control from the start, because you define every timestamp before YouTube processes anything.
Type manually or use Auto-sync
Manual entry works best for shorter videos where you want granular control over each line. Select "Type manually" and a built-in editor opens with your video on the left side of the screen. You type each caption, then set the start and end times by playing the video frame by frame. If timing feels like too much work, choose "Auto-sync" instead, paste your full written transcript, and YouTube aligns each line to the spoken audio automatically.
Step 3. Edit auto captions for accuracy and timing
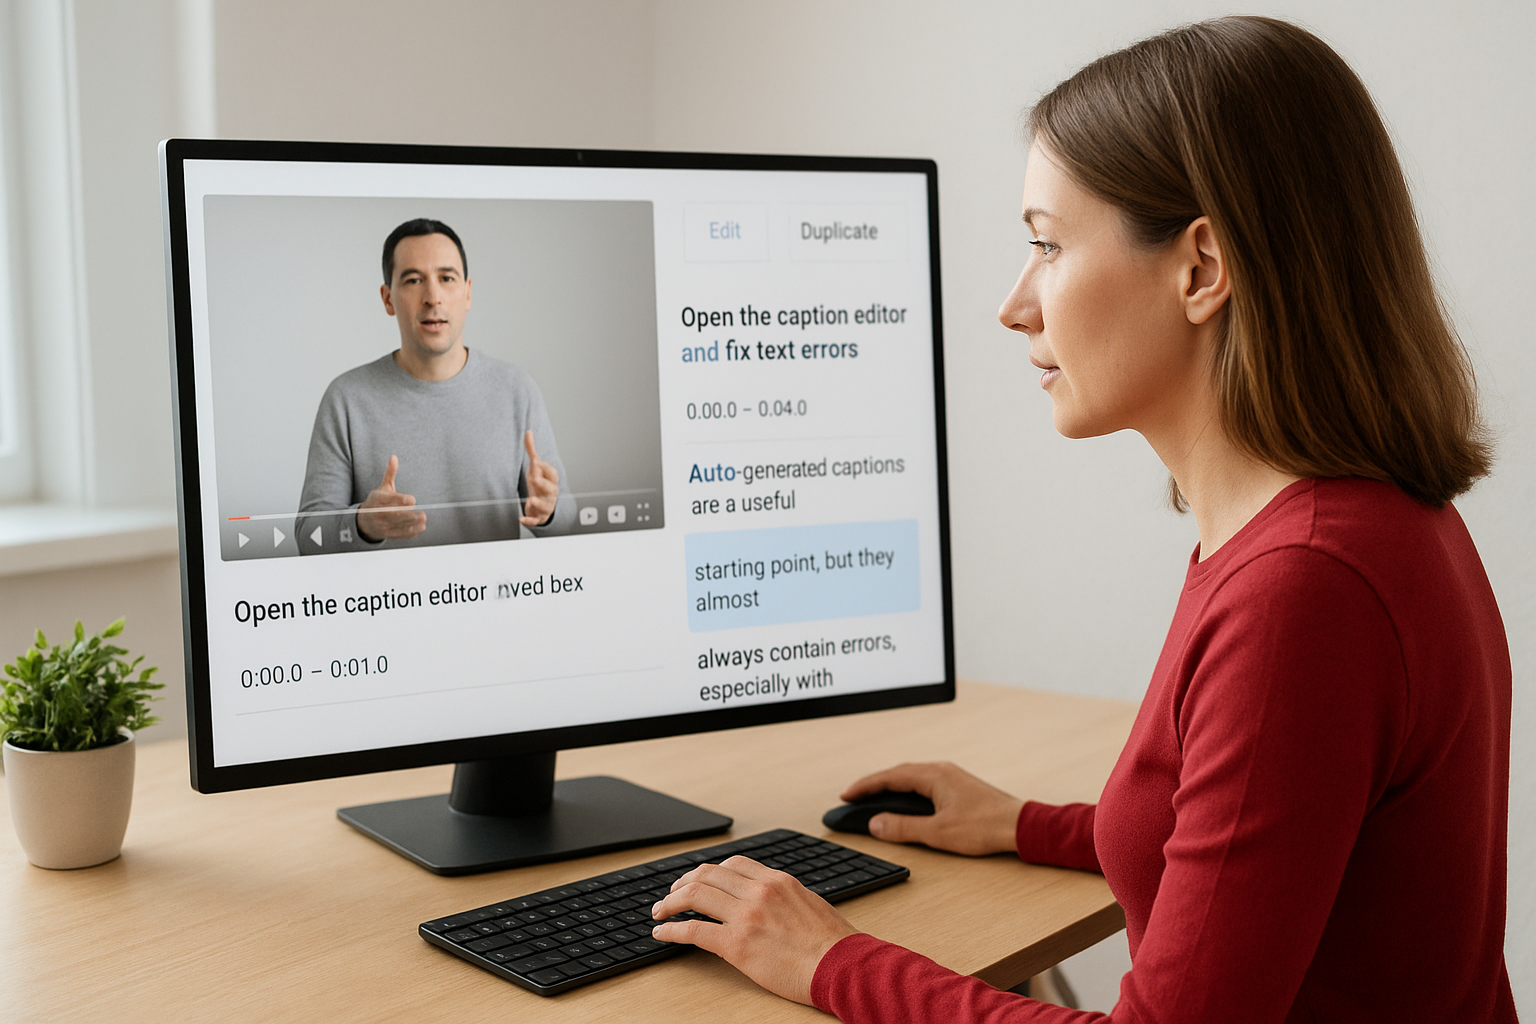
Auto-generated captions are a useful starting point, but they almost always contain errors, especially with brand names, technical terms, and fast speech. Editing them inside YouTube Studio takes minutes and makes a significant difference in how your youtube studio subtitles perform both for viewers and for search indexing.
Open the caption editor and fix text errors
From the Subtitles panel, click "Edit" next to the auto-generated track. The editor opens with your video on the left and caption blocks stacked on the right. Each block shows the caption text and its start/end timestamps. Click directly into any block to edit the text. Work through the transcript from top to bottom, correcting misspellings, wrong words, and missing punctuation.
Fixing proper nouns and brand names should be your first priority, because those are the exact words your audience searches for.
Common errors to fix in every pass:
- Homophones misread by speech recognition (their/there, to/too)
- Missing commas that split one thought across two blocks
- Brand names spelled incorrectly or broken into separate words
- Numbers written as words when they should be numerals
Adjust timing for better readability
Once text accuracy is clean, check your timing. Click a caption block, then use the timestamp fields at the top of the editor to adjust when each line appears and disappears. A safe rule: keep each caption block on screen for at least one full second, and avoid blocks that linger past the next spoken phrase. Short, precisely timed blocks keep viewers reading along without losing their place.
Step 4. Publish, translate, and manage subtitle tracks
Once your edits are done, your youtube studio subtitles don't go live automatically. You need to publish them, and YouTube also gives you tools to add translated tracks and clean up outdated ones from the same panel.
Publish your subtitle track and add translations
From the Subtitles panel, click "Publish" next to your edited track. The status changes from "Draft" to "Published," and the captions immediately become visible to viewers. To add a translated track, click "Add language" on the same screen, select your target language, then choose your preferred method: upload a translated SRT file, type it manually, or let a translator handle it. For each new language, follow the same edit and publish flow.
Publishing each language track separately gives you full control over quality, so don't rely on YouTube's automatic translation for audience-facing captions.
Here is a quick reference for managing multiple tracks:
| Action | Where to find it |
|---|---|
| Publish a draft track | Subtitles panel > "Publish" |
| Add a new language | Subtitles panel > "Add language" |
| Edit an existing track | Subtitles panel > "Edit" |
| Delete a track | Subtitles panel > three-dot menu > "Delete" |
Remove or replace outdated caption tracks
If you re-edit your video and the existing captions no longer match, open the three-dot menu next to the track and select "Delete." Then upload or create a fresh track from scratch. Keeping stale captions on a video creates a mismatch between audio and text that confuses both viewers and YouTube's indexing systems.
Quick recap and what to do next
You now have everything you need to add, edit, and publish youtube studio subtitles from start to finish. Set your video language first, pick the right method for adding captions, correct every auto-generated error, then publish each track individually. That four-step process covers accessibility and search indexing in a single, repeatable workflow you can apply to every upload.
Each step builds on the one before it, so skipping the language setting or leaving auto-captions unedited weakens your results. Accurate caption text tells YouTube's indexing systems exactly what your video covers, and clean timing keeps viewers reading along instead of clicking away.
If you're scaling video production with AI-generated content, multilingual voiceovers, and lip-sync across dozens of uploads, this subtitle workflow becomes a regular part of your publishing routine. Starpop lets you create videos in over 100 languages, so your caption tracks are ready to match every video from day one.