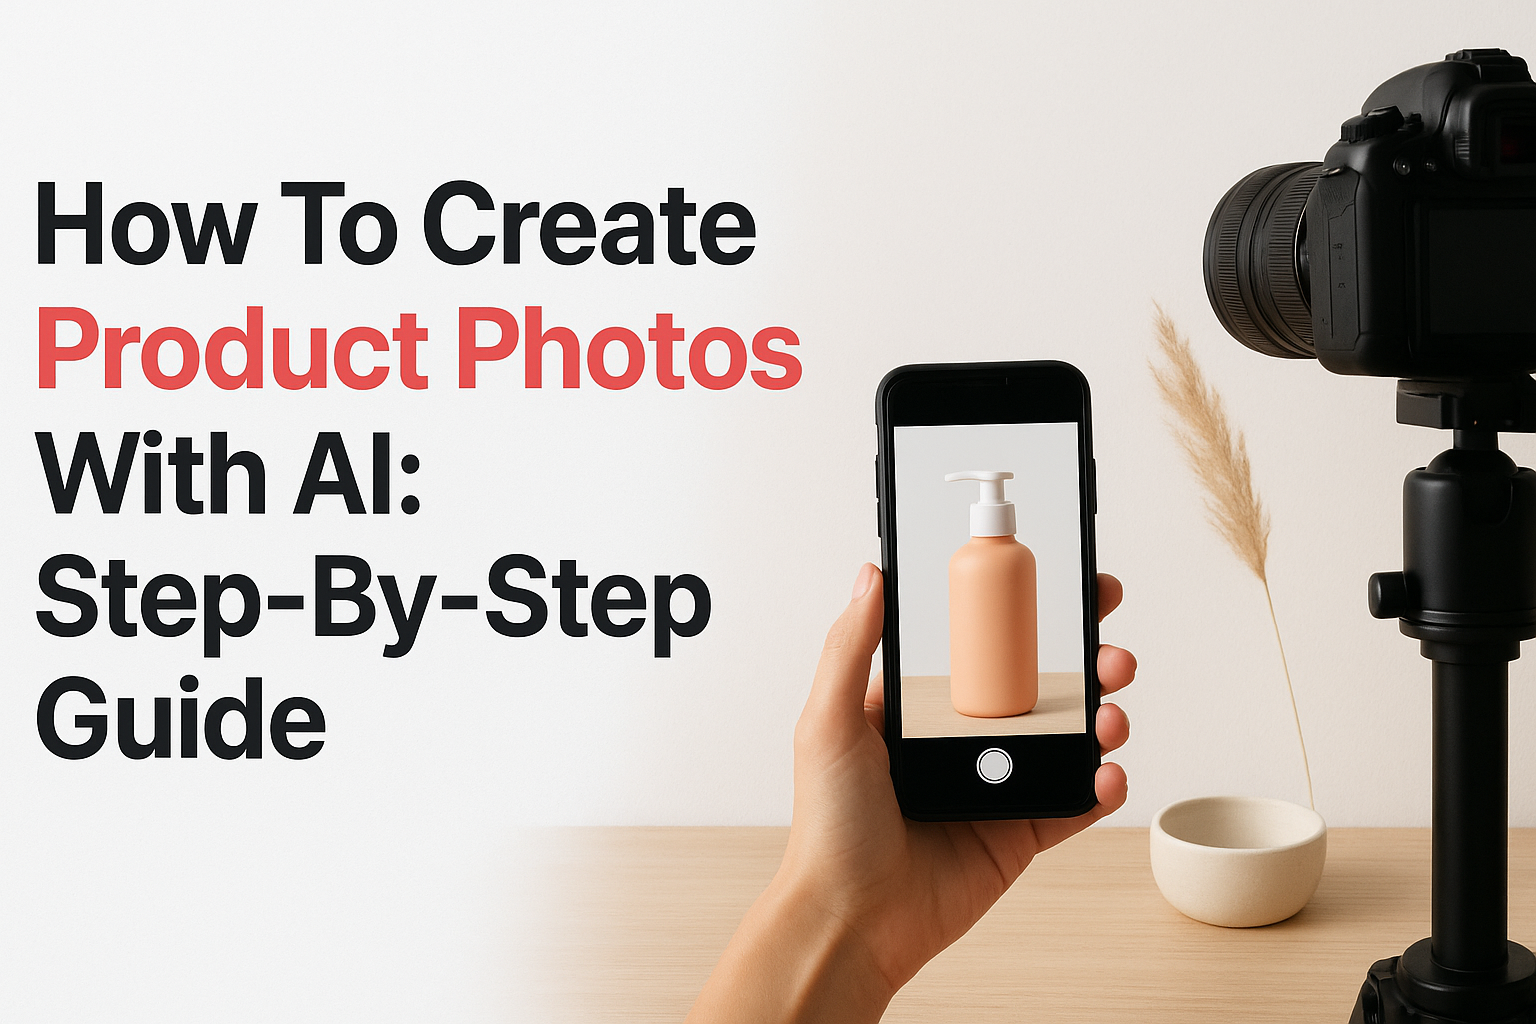
Contents
0%Hiring a photographer, renting a studio, and waiting days for edited files used to be the only way to get decent product shots. That workflow is expensive, slow, and hard to scale, especially when you need dozens of variations for ads, listings, and social posts. Learning how to create product photos with AI cuts that entire process down to minutes, and the results are now good enough to rival traditional studio photography.
Whether you're launching a new SKU or refreshing an entire catalog, AI tools let you generate polished, on-brand product images from a single reference photo, no props, no lighting rigs, no retoucher on standby. The catch? Not all tools handle this well, and the steps you follow matter more than most guides let on. Getting a usable marketing asset requires the right prompts, the right platform, and a clear understanding of what works for e-commerce.
This guide walks you through the full process, from preparing your source image to generating and refining final shots ready for your store or ad campaigns. We built Starpop to give marketers a single workspace for creating AI-powered images, videos, and audio, with over 225 templates designed specifically for product marketing. So where it's relevant, we'll show you how to apply these steps inside the platform alongside general best practices you can use anywhere.
What you need before you start
Jumping straight into an AI generator without the right inputs is the fastest way to end up with unusable images. Before you learn how to create product photos with AI, set yourself up with two things: a usable source image and access to a platform that supports the specific workflows covered in this guide. Skipping this prep step costs you more time than it saves.
Your source image requirements
The quality of your AI-generated output depends heavily on what you feed in. AI tools work by reading your product's shape, texture, and color, so the cleaner the reference photo, the better the results. A sharp, well-lit photo on a plain background (white, gray, or light-colored) gives the AI clear product edges to work with. Avoid images that are blurry, heavily compressed, or taken in low light.
A plain white or light gray background in your base photo makes automated background removal nearly perfect, saving significant time in later editing steps.
Here's what a solid source image includes before you start:
- Resolution: At least 1000 x 1000 pixels (1500+ preferred for detail work)
- Background: Solid, single-color, minimal shadows
- Lighting: Even, no harsh shadows or blown-out highlights
- Framing: Product fills at least 70% of the frame
- File format: JPG or PNG, under 20MB
Tools you'll need
You do not need a full design stack to follow this guide. The core requirements are an AI image platform with product-specific templates and a basic file manager to organize your exports. Starpop covers the generation, background removal, and scene creation steps inside one workspace, which removes the need to jump between multiple tools. If you use a different platform, confirm it supports custom background generation and scene placement before committing to a workflow. A free trial is usually enough to test whether the output quality matches your standards for a specific product category. Keep your source images organized in a dedicated folder so you can batch process multiple products without losing track of your originals.
Step 1. Shoot a clean base photo AI can work with
The single biggest factor in how to create product photos with AI is the quality of your starting image. AI tools read your product's edges, surface texture, and color depth to build every scene around it. If your reference photo is blurry, shadowy, or cluttered, the generator fills in the gaps incorrectly, and you end up with warped labels, smeared logos, or mismatched colors that look nothing like your actual product.
Set up your shooting environment
You do not need professional gear to capture a usable base photo. A modern smartphone with a 12MP or higher camera paired with natural window light will produce clean results. Place your product on a white foam board or plain white surface, position it near a window (not in direct sunlight), and shoot from a stable position, such as a tripod or stacked books, to avoid blur.

Shooting on a cloudy day gives you soft, even light with no harsh shadows, which makes your AI-generated scenes significantly easier to compose.
Check your shot before moving on
Before uploading, review your photo against these criteria to avoid wasted generation credits:
| Check | What to look for |
|---|---|
| Sharpness | Product text and edges are crisp at 100% zoom |
| Background | Single solid color, no gradients or props |
| Exposure | No blown highlights or crushed blacks |
| Framing | Product fills at least 70% of the frame |
| File size | Saved at full resolution, not compressed |
Step 2. Cut out the product and fix lighting with AI
Once you have your clean base photo, the next step in learning how to create product photos with AI is removing the background and correcting the lighting so your product looks like it belongs in any scene you place it in. Most AI platforms handle background removal automatically, but lighting correction is where many users skip steps and end up with flat, unconvincing results.
Remove the background cleanly
Upload your source image to your AI platform's background removal tool. Good platforms detect product edges automatically and produce a clean cutout in seconds. Review the result at 100% zoom, paying close attention to curved edges, handles, or fine details like bottle necks or product labels, which are common failure points. If the cutout has rough edges or artifacts, use the manual correction brush available in most tools to fix those areas before moving forward.
A clean cutout with no background fringing is the foundation of every convincing lifestyle or studio scene you generate later.
Adjust shadows and highlights
After removing the background, check how light falls on your product. Most AI generators let you apply a natural shadow or ambient lighting layer to the isolated product before placing it into a new scene. In Starpop, you can adjust the light direction and intensity directly inside the image editor. Set the shadow angle to match your intended background scene so the product reads as physically present rather than pasted in.
Step 3. Generate studio and lifestyle scenes that convert
This is where knowing how to create product photos with AI pays off most visibly. You now have a clean, isolated product with corrected lighting. The next move is placing it into scenes that match your target customer's expectations, whether that's a minimalist studio setup for a marketplace listing or a real-world lifestyle context for a social ad.
Choose the right scene type for your product
Your scene choice should reflect where the image will be used. Marketplace listings (Amazon, Shopify storefronts) perform best with clean studio backgrounds in white, light gray, or gradient tones. Lifestyle scenes work better for paid social, showing the product in context, on a kitchen counter, held by a person, or placed in an outdoor setting.
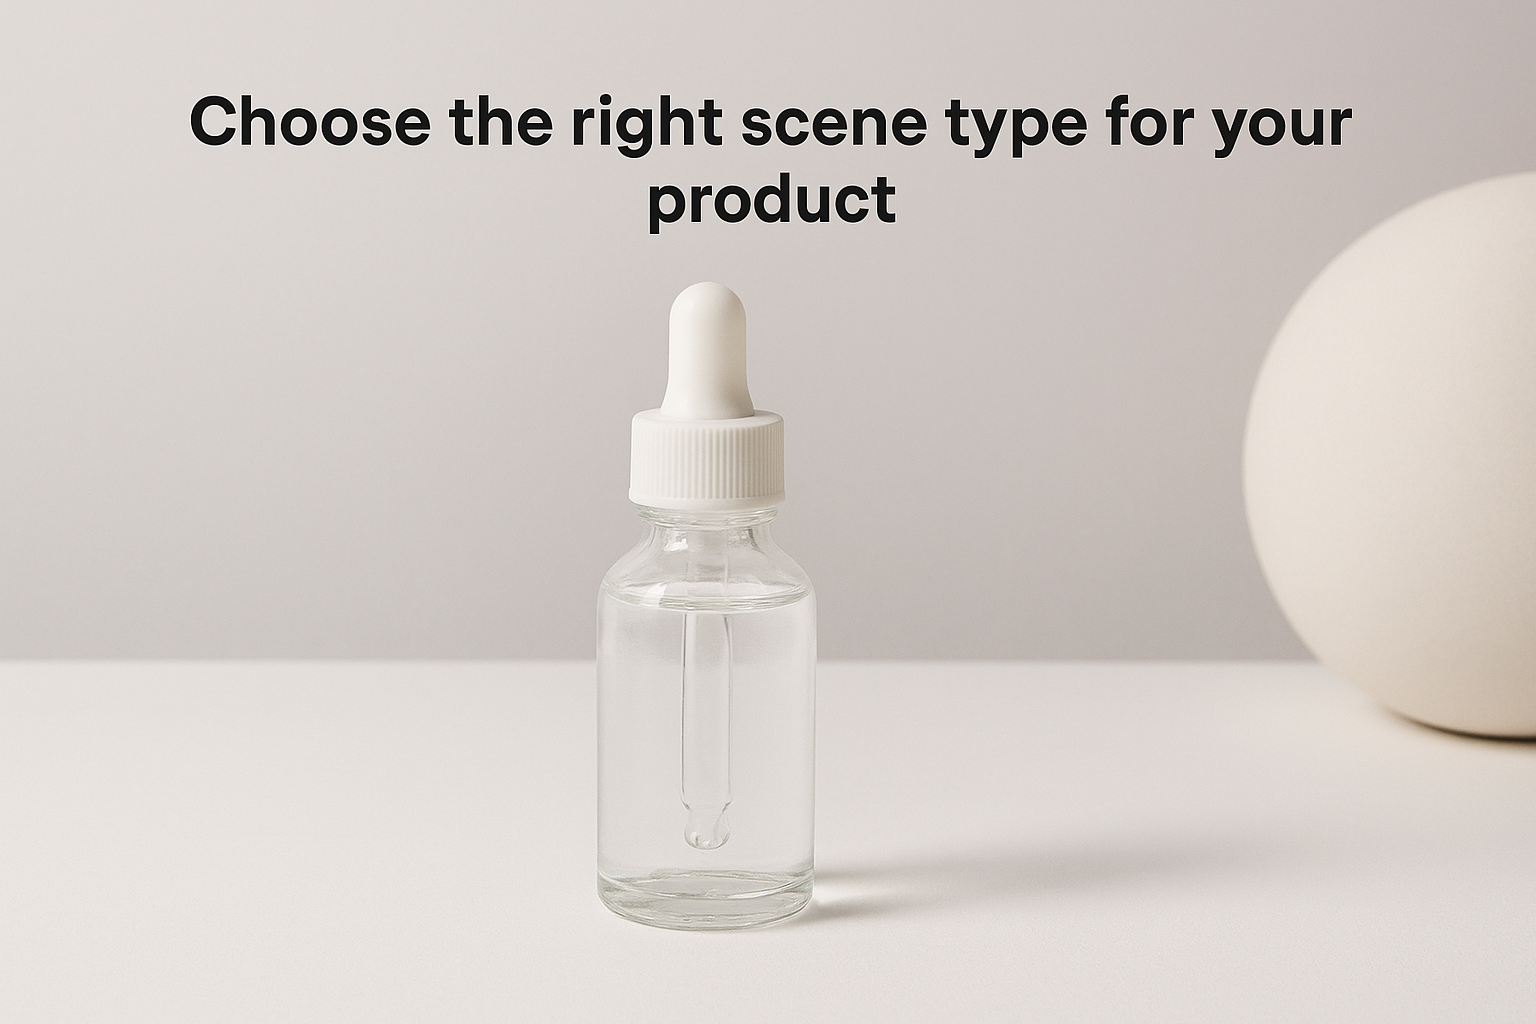
Match your scene type to the platform and buyer mindset: studio for purchase decisions, lifestyle for discovery and awareness.
Use Starpop's 225+ templates to filter by scene category and pick one that fits your product format without needing to build a custom prompt from scratch.
Write a prompt that places your product accurately
When generating a scene, your prompt needs to specify product placement, background details, and lighting direction together. Use this template structure:
[Product name] placed on [surface], [background description],
[lighting style], [color palette], product photography,
high resolution, commercial quality
For example: "Glass serum bottle placed on white marble, soft studio lighting from the left, clean minimal background, product photography, high resolution."
Step 4. Export, resize, and quality-check for marketplaces
The final step in how to create product photos with AI is getting your files ready for every channel where they'll appear. Generating a great image means nothing if you export it at the wrong resolution or in the wrong format. Platform requirements vary significantly, and sending an undersized or incorrectly formatted file can result in blurry listings or outright rejection from automated review systems.
Match your export settings to each platform
Every major marketplace and ad platform has specific size and format requirements. Export your final images using the settings in the table below to cover the most common use cases without re-exporting later:
| Platform | Minimum size | Max file size | Format |
|---|---|---|---|
| Amazon main image | 1000 x 1000px (2000+ recommended) | 10MB | JPG |
| Shopify product page | 2048 x 2048px | 20MB | JPG or PNG |
| Meta ads | 1080 x 1080px | 30MB | JPG or PNG |
| TikTok ads | 720 x 720px | 500KB | JPG |
Run a quality check before publishing
Before uploading anything, review each image at 100% zoom on your screen. Confirm that product edges look sharp and clean, colors match your physical product accurately, and no AI artifacts appear in the background or on product surfaces.
Download one test file at final resolution before exporting your full batch to catch compression or color-shift issues early.
Verify your file naming convention stays consistent across all exports so your team can track which images belong to which product variant without confusion.

Next steps
You now have a complete, repeatable workflow for how to create product photos with AI, from capturing a clean base image to exporting platform-ready files. Each step builds on the last, so cutting corners early in the process shows up at the end. The most important habit you can build is keeping your source images organized and your export settings consistent across every product in your catalog.
Start with one product. Run it through all four steps, review the output at 100% zoom, and note where the results need refinement before scaling to your full catalog. Batch processing becomes significantly faster once you establish a reliable template and prompt structure that works for your product category.
If you want a single workspace that handles generation, background removal, scene building, and export without switching tools, try Starpop's AI image templates and see how quickly you can move from raw photo to finished marketing asset.