Contents
0%Your voice carries something no stock audio library can replicate, your tone, your pacing, the subtle way you emphasize certain words. That's exactly why murf ai voice cloning has become one of the most searched tools for creators and marketers who want to scale audio content without recording every single take from scratch.
Murf AI lets you upload voice samples and generate a digital replica that can read scripts, narrate videos, and localize content across languages. For e-commerce brands running dozens of ad variations or agencies managing multiple client campaigns, that's a serious time saver. But how good is it really, and is it the right fit for your workflow? Those are fair questions, especially when the voice cloning space has gotten crowded with options in 2026.
This guide walks you through the full process of cloning your voice with Murf AI, from setting up your account to generating your first output. We'll cover features, pricing, quality benchmarks, and practical use cases. We'll also show you how tools like Starpop complement voice cloning by letting you pair your cloned audio with AI-generated video ads, UGC-style content, and lip-synced multilingual assets, all from one platform. If you're building a content engine that runs on your voice without burning your time, keep reading.
What Murf AI voice cloning is in 2026
Murf AI is a text-to-speech platform built for professional audio production. The voice cloning feature, which sits inside Murf's Studio and Enterprise tiers, lets you upload audio samples of your own voice and train a personalized voice model that can read any script you give it. Instead of re-recording every new piece of content, you type or paste your text and the cloned voice renders the audio in seconds. That core workflow is what makes murf ai voice cloning attractive to marketers, course creators, and agency teams who need consistent, scalable narration without booking a recording session every time a script changes.
How the cloning engine works
Murf's cloning pipeline runs on a neural text-to-speech architecture. When you upload your training audio, the system analyzes your vocal characteristics: pitch range, cadence, pronunciation tendencies, and tonal resonance. It then builds a model that maps those characteristics onto a synthesis engine, meaning the output is not a playback of your recording but a statistical reconstruction of how you would say something new.
The quality of that reconstruction depends almost entirely on the quality and consistency of the audio you feed it, which makes your recording environment just as important as the technology itself.
The synthesis step is fast. Once your model is trained, you paste in text, select a speaking style such as neutral, conversational, or formal, and Murf renders the file. You can then adjust speed, pitch, and word-level emphasis inside the Studio editor. That granular control separates Murf from simpler tools that only expose a single speed slider.
What Murf bundles around voice cloning
Murf packages several features alongside the core clone capability. Multi-voice projects let you combine your cloned voice with any of Murf's 200-plus prebuilt voices inside the same script, which is useful for dialogue-style explainers or podcast-format content that needs a second speaker. The platform also handles background music layering and video timeline sync directly in the editor, removing the need to export audio and reimport it into a separate video tool just to check timing.
Collaboration is built into the higher tiers. Team members can access shared projects, leave comments, and export directly from the same workspace, which matters for agencies running multiple client accounts. Role-based permissions let you control who can edit a voice model versus who can only use it to generate output.
Localization and multilingual output
For brands running campaigns across multiple markets, Murf's language support currently covers over 20 languages with localized prebuilt voices. The platform lets you translate a script and render it using a target-language voice in the same session. A localized version of a cloned voice, where your own voice model speaks a language other than your native one, is a feature still rolling out in 2026 and available on select languages rather than the full catalog.
Even at its current stage, the translation-to-render workflow cuts a significant step out of multilingual content production. You write once, translate inside the platform, and export a localized audio file without switching tools. For e-commerce brands testing ads in different regional markets, that speed advantage adds up quickly across a campaign cycle.
What you need before you clone a voice
Before you touch Murf AI voice cloning, gathering the right materials upfront saves you from re-recording and retraining later. The platform's cloning engine is only as accurate as the samples you feed it, so preparation is where the quality of your final clone is actually decided, not during the training step itself.
Audio quality requirements
Murf recommends uploading between 2 and 5 minutes of clean, continuous speech for a foundational voice model. More audio produces a better result, but your recording environment matters more than raw duration. You need a quiet room with minimal echo, a condenser or cardioid microphone, and a consistent distance from the mic throughout every take. If you record one minute in a padded room and another in a tiled bathroom, that inconsistency surfaces in the output audio.
Your recording environment is the single biggest variable you can control before you ever log into Murf.
Here is a quick checklist to confirm you're ready before you upload:
- Microphone: USB condenser or XLR cardioid minimum, no built-in laptop mic
- Room: Small, soft-furnished space with no HVAC noise or external sound bleeding in
- Script content: Read sentences from varied topics to cover a wide pitch and cadence range
- File format: Murf accepts WAV and MP3; WAV at 44.1 kHz or higher gives the cleanest input signal
- Silence gaps: Keep pauses between sentences natural, no longer than two seconds
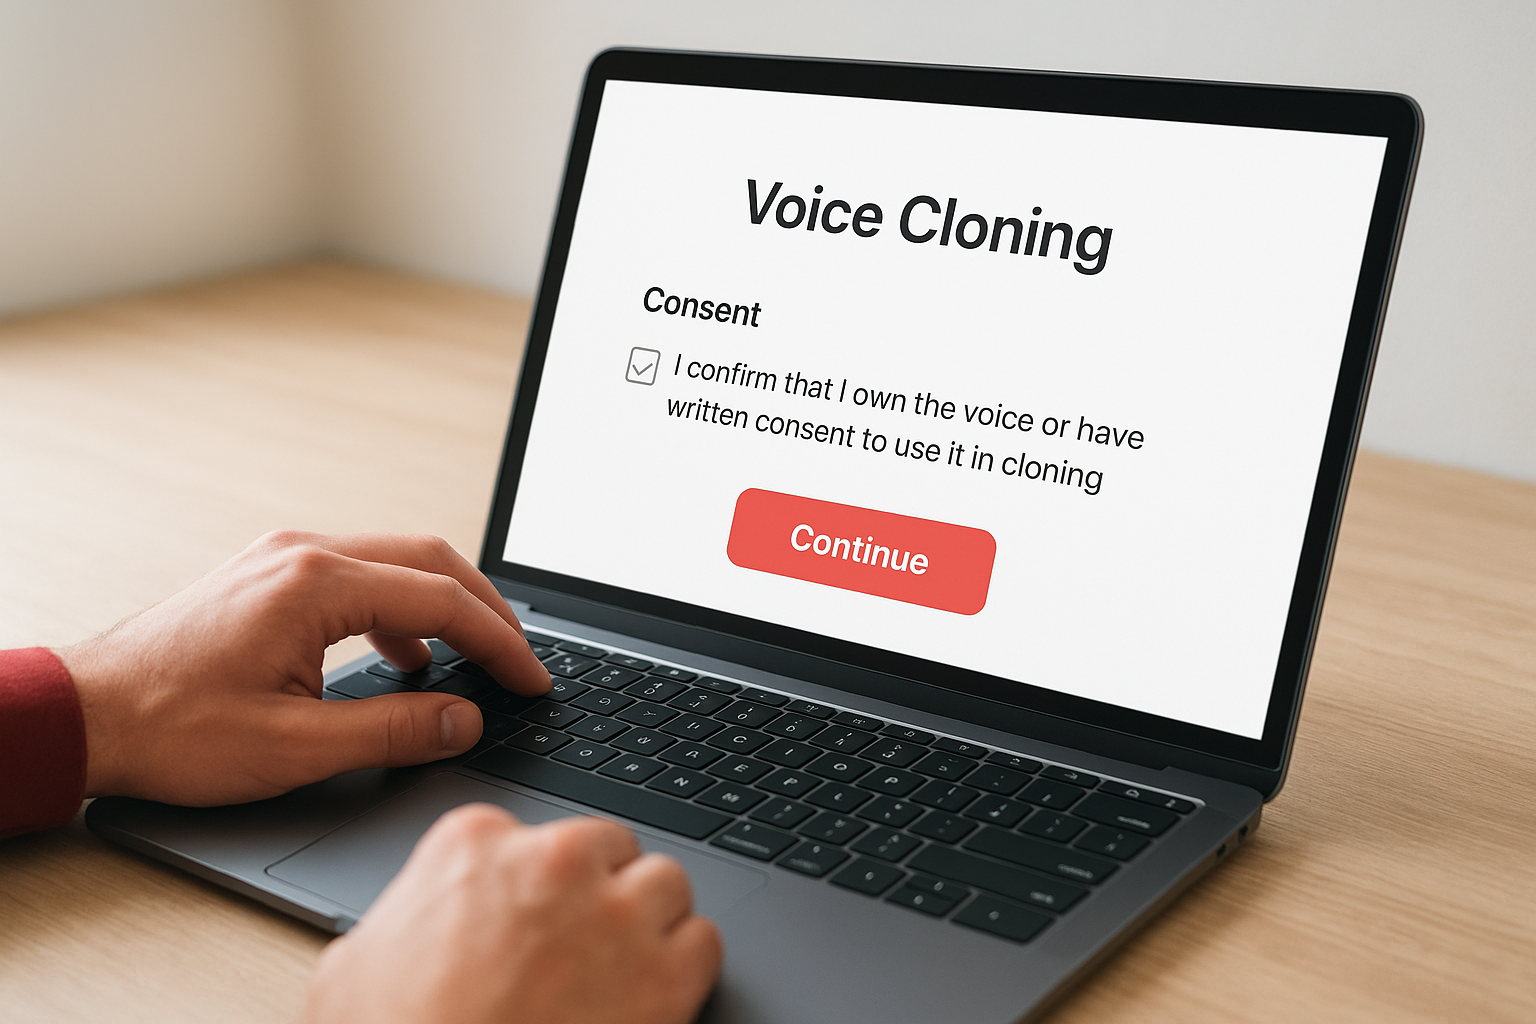
Consent and legal requirements
The platform requires you to confirm that the voice you upload belongs to you or that you have explicit written consent from the person whose voice is being cloned. This is not optional fine print. Murf enforces a consent declaration at the exact point of clone creation, and violating it can result in account suspension.
If you work at an agency and want to clone a client's voice for their campaigns, get that consent documented in writing before you record a single file. A short email from the client stating the intended use is sufficient, but you need to keep it on file. Building that step into your standard client onboarding process protects both parties from disputes down the line and keeps your account in good standing.
Step 1. Pick a plan and enable voice cloning
Murf AI voice cloning is not available on the free tier. The feature sits behind paid subscription plans, so the first thing you do is confirm your account level before recording a single syllable of training audio. Logging in and hunting for the clone option only to find it's paywalled wastes time, so resolve the plan question before anything else. Upgrading takes a few minutes, and once your account reflects the right tier, the voice cloning interface becomes visible inside your Studio dashboard immediately.
Which plan unlocks voice cloning
Murf structures its pricing across three main tiers: Creator, Business, and Enterprise. Voice cloning becomes available starting at the Business plan. The Creator plan gives you access to prebuilt voices and the full Studio editor but blocks the custom clone feature entirely. Enterprise adds team-level clone management, a priority training queue, and the ability to assign separate voice models to different client workspaces, which matters if you run an agency with multiple clients.
If you manage several clients who each need their own cloned voice, Enterprise is the only tier that gives you proper model separation and role-based access controls.
Here's how the tiers stack up on the features that matter most for cloning:
| Plan | Voice Cloning | Seats | Client Workspace Separation |
|---|---|---|---|
| Creator | No | 1 | No |
| Business | Yes | Up to 3 | Limited |
| Enterprise | Yes (multi-model) | Custom | Yes |
How to activate the voice clone feature
Once your account is on the Business or Enterprise plan, activating the voice clone takes under five minutes. Follow these steps in order:
- Log in to your Murf Studio dashboard and click your profile icon in the top-right corner.
- Select "Voice Cloning" from the left navigation panel under the "My Voices" section.
- Click "Create New Clone" and read the consent declaration on the screen that follows.
- Check the box confirming you own the voice or hold written consent from the voice owner.
- Click "Continue" to open the upload interface where you'll submit your training audio.
The consent checkbox is a hard gate. You cannot move past it without acknowledging ownership, which keeps your account in good standing with Murf's platform terms of service.
Step 2. Record and upload your training audio
With your plan active and the upload interface open, your next job is to record clean training audio and get it into Murf's system. This step is where most people make avoidable mistakes that carry through the entire murf ai voice cloning process. Rushing through a quick recording on a laptop mic will produce a clone that sounds muffled and inconsistent, so treat this session with the same care you'd give any professional voice project.
How to record your training script
You don't need to read a specific passage, but you do need to cover a range of sentence structures, tones, and pacing to give the model enough variation to build from. Murf's system learns from vocal variety. A reading that stays flat and monotone throughout will produce a clone that lacks natural emphasis when it synthesizes new scripts.
Use this recording script template as a starting point:
Section 1 - Neutral narration (steady, even pace):
"Welcome to today's overview. We'll cover the key points clearly and move
through each section step by step. The goal is to give you a complete picture
before we dive into specifics."

Section 2 - Conversational tone (warmer, as if speaking to one person):
"So here's the thing. Most people skip this part, and that's exactly where
things go wrong. Take a few extra minutes here and you'll save hours later."

Section 3 - Emphasis and energy (slightly elevated, stressing key words):
"This is the part that actually changes your results. Not the setup, not the
tools, but this one step done correctly every single time."
Record each section in a single continuous take without stopping. Avoid editing out pauses mid-recording since unnatural cuts create audio artifacts that confuse the training model and degrade clone quality.
How to upload your audio file
Once your recording is done, export the file as a WAV at 44.1 kHz and return to the Murf upload interface. Click "Upload Audio", select your file, and wait for the platform to run its built-in quality check. Murf automatically flags common issues like background noise, low volume, or clipping before training begins.
If Murf flags your file for any reason, re-record rather than trying to salvage the audio in post-production. A clean original recording always trains better than a corrected one.
After the quality check passes, click "Submit for Training" to lock in your audio and move on to Step 3.
Step 3. Train, test, and tune your voice clone
After you submit your audio, Murf's system takes over and begins processing your voice model. Training typically completes within 15 to 30 minutes, though Enterprise accounts with priority queue access often see faster turnaround. You'll receive an email notification once your clone is ready, so there's no need to sit on the dashboard waiting.
What happens during training
Murf's engine analyzes every characteristic in your uploaded audio: pitch range, speaking rhythm, breath patterns, and phoneme-level pronunciation. It uses those data points to build a synthesis model that reconstructs your voice on demand rather than playing back your original recording. This distinction matters because the clone needs to handle words and phrases that never appeared in your training audio.
The more vocal variety you captured during recording, the more accurately the model handles unexpected phrasing in future scripts.
The training process runs automatically and does not require any input from you. Once the notification arrives, your cloned voice appears in your "My Voices" panel inside the Studio dashboard, ready for the test phase.
How to test your clone output
Open the Studio editor and select your newly trained clone from the voice picker. Paste in a short test script that includes sentences you did not record during training. This approach reveals how well the model generalizes beyond your source audio rather than just confirming it memorized familiar phrases.
Use this quick test template to cover key vocal scenarios:
Test 1 - Unfamiliar phrasing:
"The quarterly data shows a clear shift in consumer behavior across all segments."

Test 2 - Emphasis detection:
"You don't need more time. You need a better system."

Test 3 - Punctuation handling:
"First, review the results. Then adjust. Repeat until the numbers hold."
Listen carefully for unnatural stress, mispronounced words, or robotic transitions between phrases.
How to tune for better results
Inside the Studio editor, you can fix word-level issues by adding phonetic spelling or emphasis markers directly to the script. If the clone mispronounces a product name or stumbles on an industry term, rewrite it phonetically in brackets. For example, writing "Starpop [Star-pop]" guides the murf ai voice cloning engine toward the correct syllable stress without retraining the entire model.
Adjust speech rate and pitch using the controls in the right-hand panel until the output matches the natural energy of your recording. Run the test template again after each adjustment to confirm the changes land consistently across all three sentence types before you move on to production.
Step 4. Generate voiceovers and follow best practices
With your tuned voice clone ready, you can now generate production-quality voiceovers directly inside the Murf Studio editor. This is the step where murf ai voice cloning moves from a technical setup into an actual content workflow. The process is straightforward, but a few specific habits will keep your output consistent across every script you run.
How to generate a voiceover
Open a new project in Studio and select your cloned voice from the "My Voices" panel. Paste your script into the text field, set the speaking style that fits your content, and click render. Murf processes the audio in real time and places the output directly on the project timeline so you can preview it before exporting.
Follow these steps each time you generate a new file:
- Paste your script and read through it once for any irregular spellings or product names that need phonetic guidance.
- Add phonetic brackets around any term the clone has mispronounced in previous tests.
- Select the speaking style (neutral, conversational, or formal) that matches the tone of the piece.
- Click "Generate" and let the render complete before making adjustments.
- Review the full output at 1x speed, not 1.5x, to catch unnatural transitions before you export.
- Export as WAV or MP3 depending on your downstream tool requirements.
Always review at full playback speed because small timing errors that sound minor at 1.5x become obvious to listeners in a finished ad or narration.
Best practices for consistent output
Script formatting has a direct impact on how your clone performs. Short sentences with clear punctuation give the synthesis engine clean signals. Avoid long run-on sentences with multiple embedded clauses, since those increase the chance of misplaced emphasis or awkward pacing in the output.
Keep your scripts under 300 words per render session when you're generating content for ads or short-form videos. Shorter segments allow you to catch quality issues and fix them quickly rather than re-rendering a long file from the beginning. For longer narration like course content, break scripts into logical sections of two to three paragraphs and generate each one independently before assembling the final audio in your editing tool.

Next steps
You now have everything you need to move from setup to production with murf ai voice cloning: the right recording environment, a trained model, and a tuning process that keeps your output consistent across every script. The core workflow is repeatable, which means the first clone you build becomes the foundation for every piece of audio content you generate going forward.
Cloned audio becomes significantly more powerful when you pair it with matching visuals. If you run ads or produce UGC-style video content, your voice alone does not close the loop. Combining your Murf-generated narration with AI video generation, lip-syncing, and batch asset production puts your full content engine in one place. That's exactly what Starpop is built for.
Start building video ads around your cloned voice today with Starpop's AI video and voice platform and see how fast you can go from script to finished asset.